CND™ SHELLAC AT HOME REMOVAL
Posted by Sweet Squared on 20th Nov 2020
Introducing the CND™ Shellac Removal Kit
This handy at-home kit is the saftest way to remove your CND™ Shellac at-home in the absence of being able to visit your local salon.
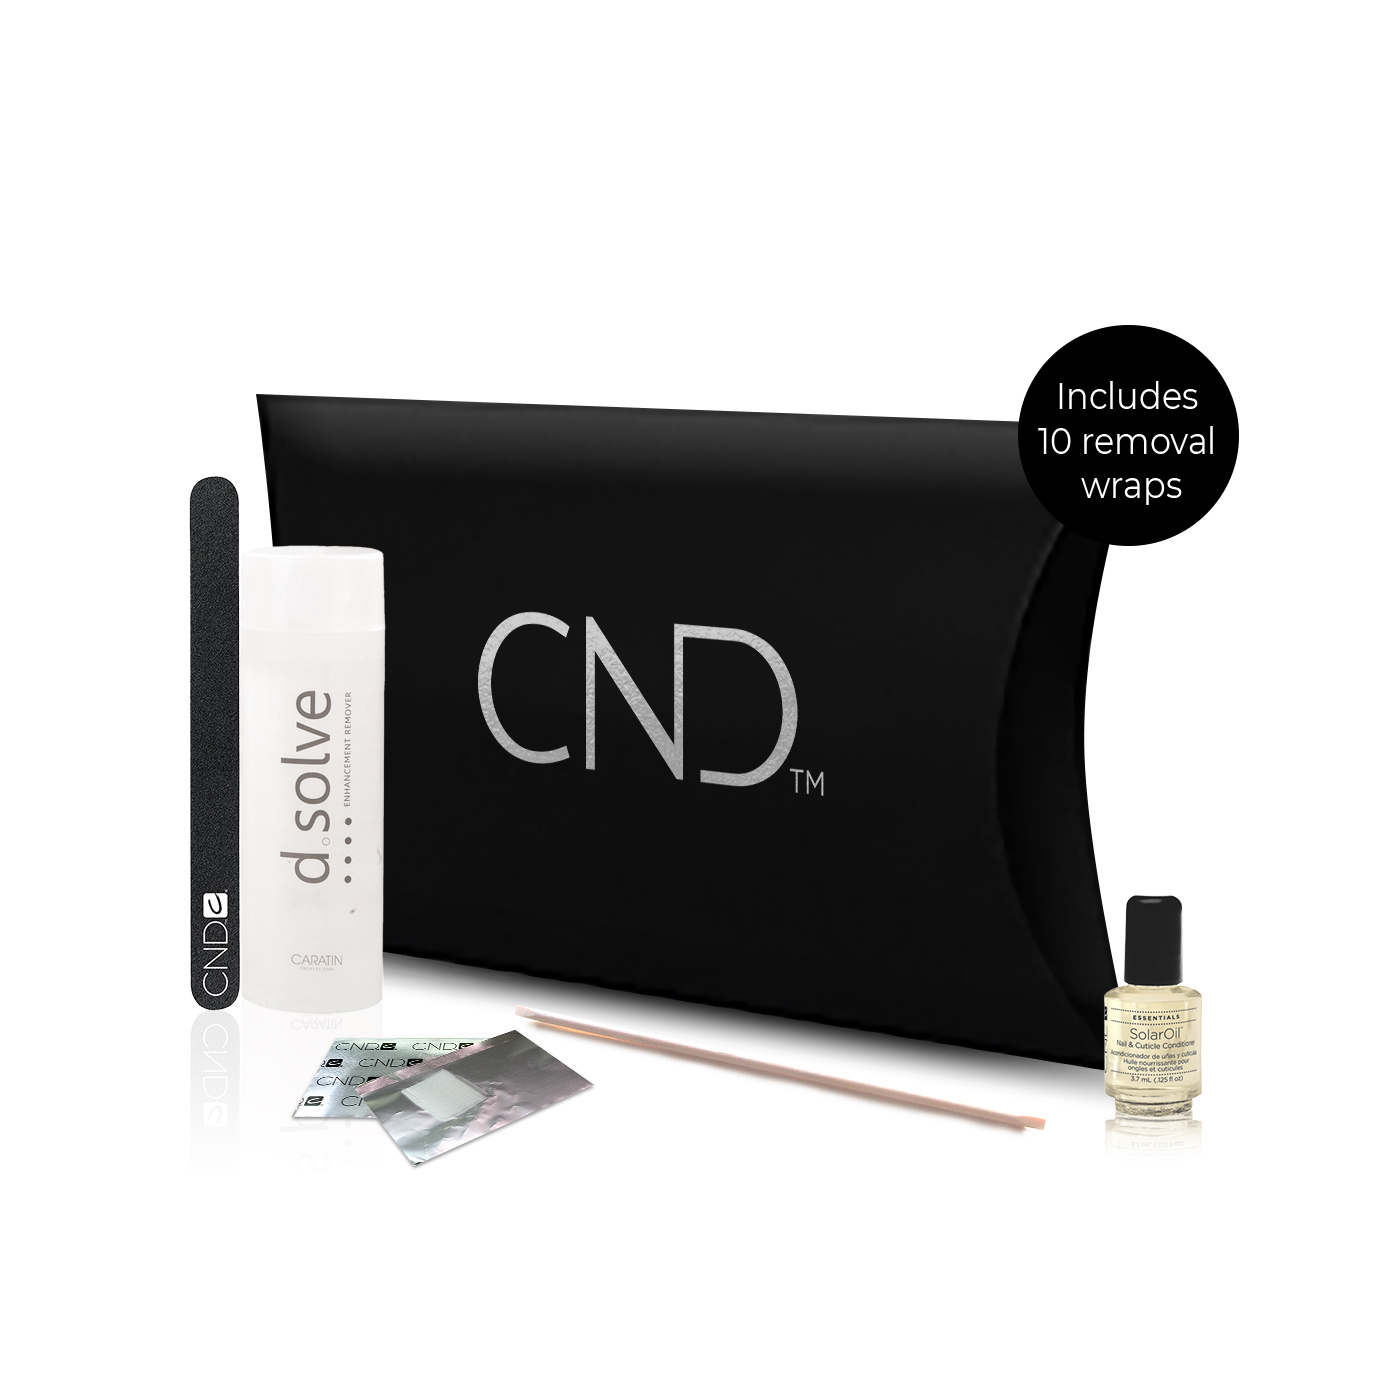
This useful guide will provide you with step-by-steps on how to remove CND™ Shellac from the comfort of your own home, with the confidence that this removal technique will provide no damage to the natural nail
“CND™ Shellac™ is a thin, but very protective gel
polish colour coating. The formula contains unique polymers, that allow Shellac™ to be
removed effortlessly, which can easily be done at home. Other gel polishes
remove slower and may need to be filed to remove top layer prior to wrapping
with foils and acetone. With CND™ Shellac™, that is not necessary. With our NEW at-home removal
kit, you can be confident that you are removing your CND™ Shellac safely with no
damage to the natural nail
Below are some steps to follow for at-home CND™ Shellac™ removal.”
- Wash hands thoroughly and sanitise the hands before beginning.
- Take a CND™ Foil Remover Wrap and saturate the cotton part of the wrap with the D'solve
- Place the wrap under the finger with the edge of the cotton pad underneath the extension edge of the nail.
- Fold the cotton pad over the top of the nail.
- Wrap each side of theCND™ Foil Remover Wrap around the entire finger, ensuring a snug, tight fit.
- Squeeze the top centre of the foil to secure the wrap onto the nail.
- Repeat for all fingers. You may want to do this one hand at a time to make it easier.
- Leave the CND™ Foil Remover Wrap on the finger for up to 15 minutes. The removal time depends on what Shellac™ Top Coat has been used by your nail professional. This will vary from 5 to 15 minutes. You should be looking for the butterfly effect
- Securely grip the foil remover wrap around the nail, applying slight pressure and slide the wrap off the nail.
- If any product is remaining, gently slide it off with your orangewood stick in the direction of the growth of the nail plate. It’s really important to be gentle here and never force the product off the nail to prevent unnecessary damage to your natural nails.
- Finally, saturate a cotton pad with D'solve and rub the nail to remove any remaining product.
- Finish by applying CND™SolarOil™ to the nail and cuticle to keep nails hydrated and healthy.
If it's easier, you can follow our simple step-by-step video, from CND™ ambassador Fee Wallace below. Remember, always reach out to your nail professional to understand the product combinations used on your nails. to ensure you have the correct soak-off time.
Note: the product featured in the video is nourishing remover, D Solve works in the same way, so please follow the same process as shown in the video
Love & Respect
Sweet Squared