LIP GLOSS NAILS STEP-BY-STEP WITH FEE
10th Mar 2023
Here we go again! Another new trend that clients are clamouring for. The lip gloss nail trend is fun and easy to create with our professional CND™ products. There are a few ways we can do it, but so far my favourite method is to start with an opaque nude, then create a custom gloss layer by combining CND™ PLEXIGEL™ SHAPER with CND™ Shellac™. If you are working on very beautiful natural nails that happen to be flawless, you can miss out the opaque nude layer, and go straight on to glossing – but its up to you!
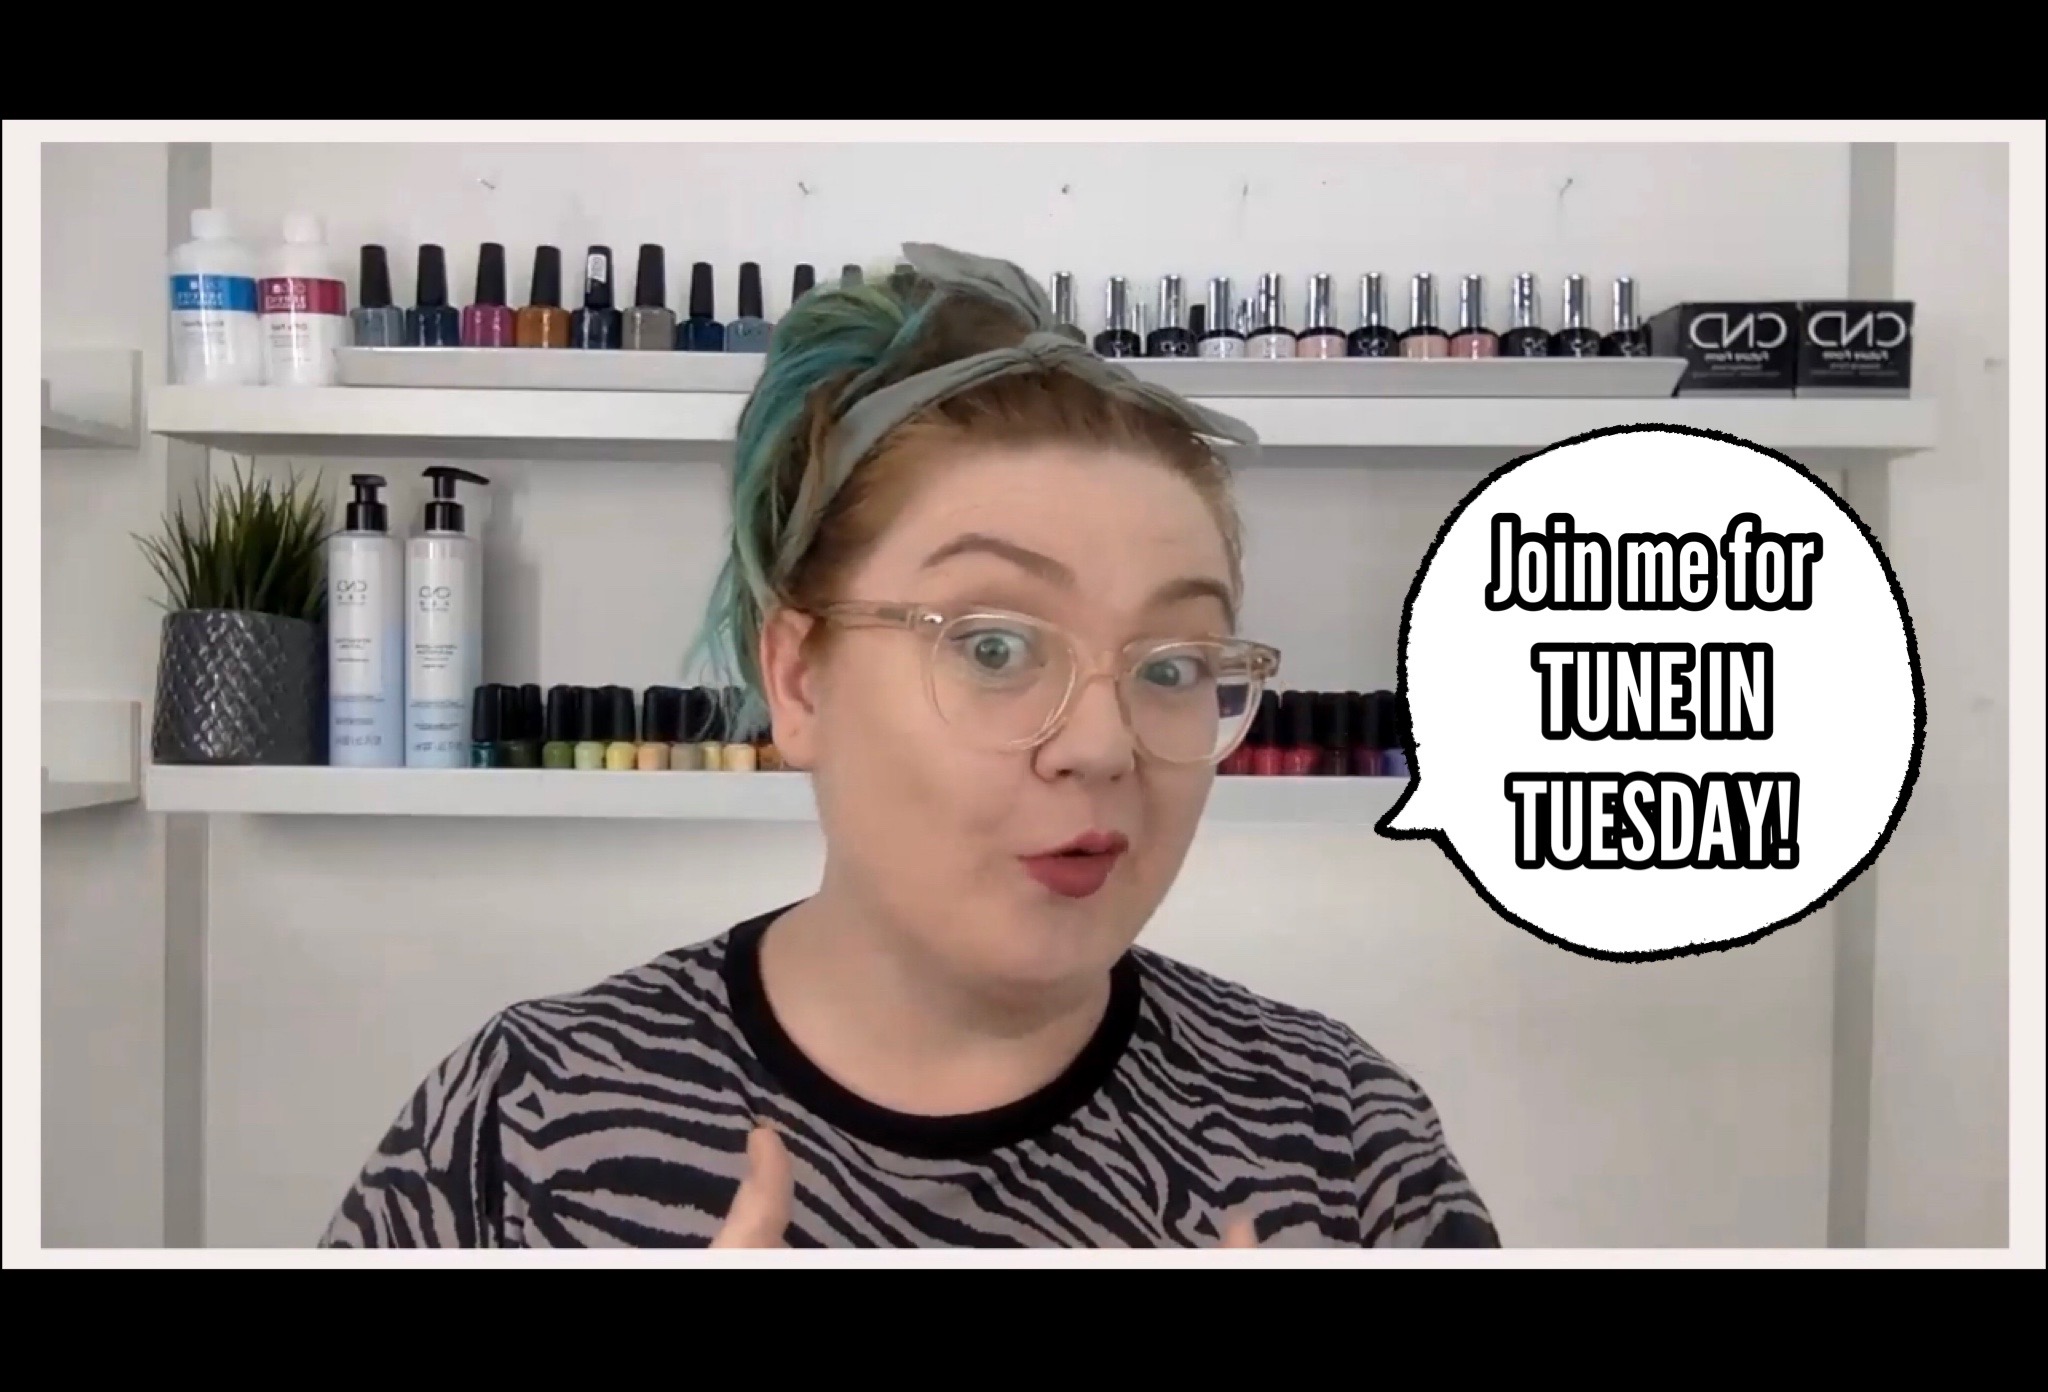
Join me, Fee Wallace, on Tuesday 14th March for a special episode of Tune in Tuesday on Academy Squared. We will be creating spring nail trends step by step, including more variations of the lip gloss nail trend. To watch the show live, or get a link to the recording to watch back on catch up, you must register before the broadcast, and it’s free! You can REGISTER HERE.
Creating Lip Gloss Nails with CND™
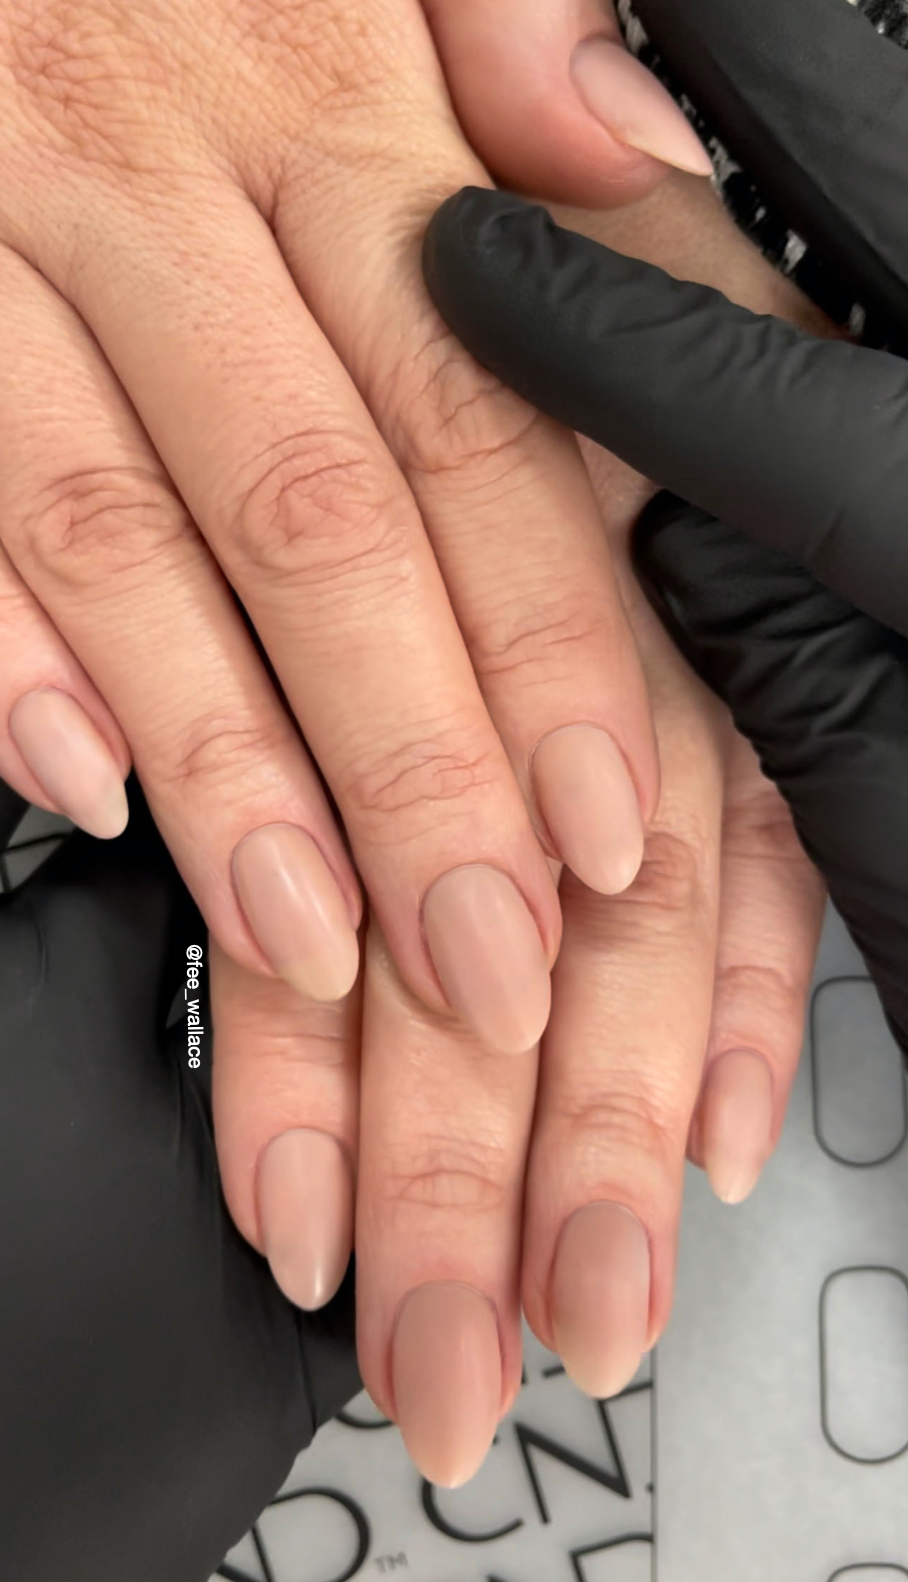
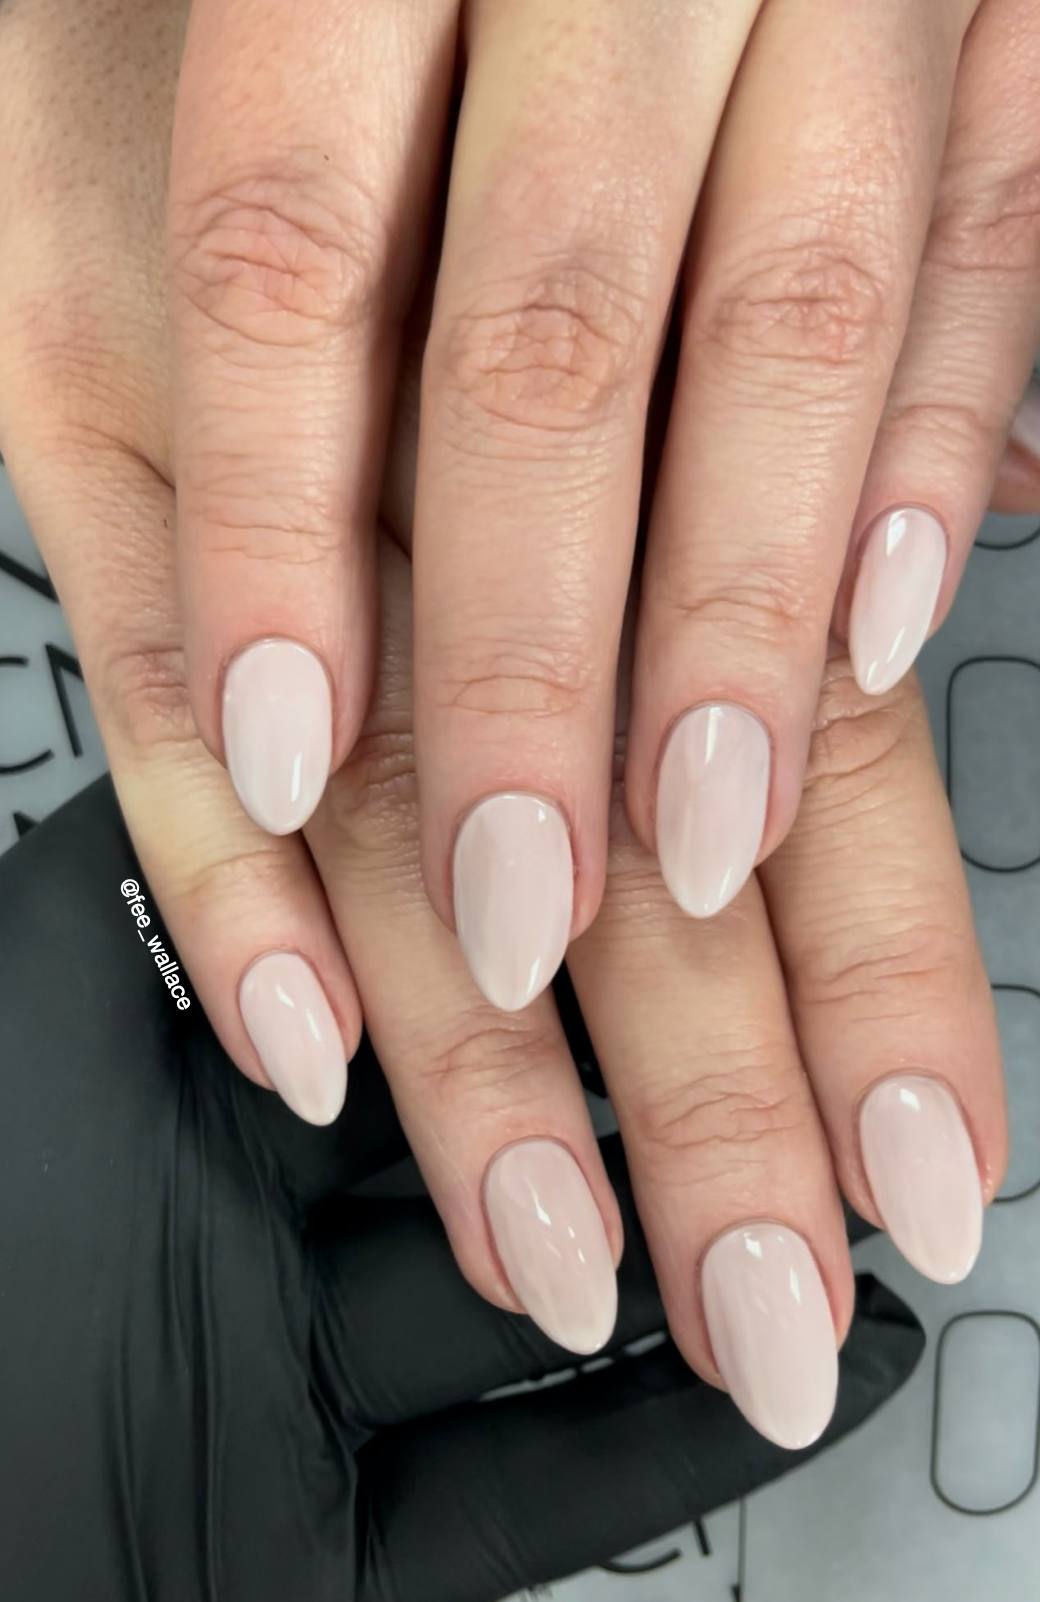
My client here is is wearing CND™ PLEXIGEL™ enhancements, freshly rebalanced with PLEXI Color Builder in SOFT BLUSH.
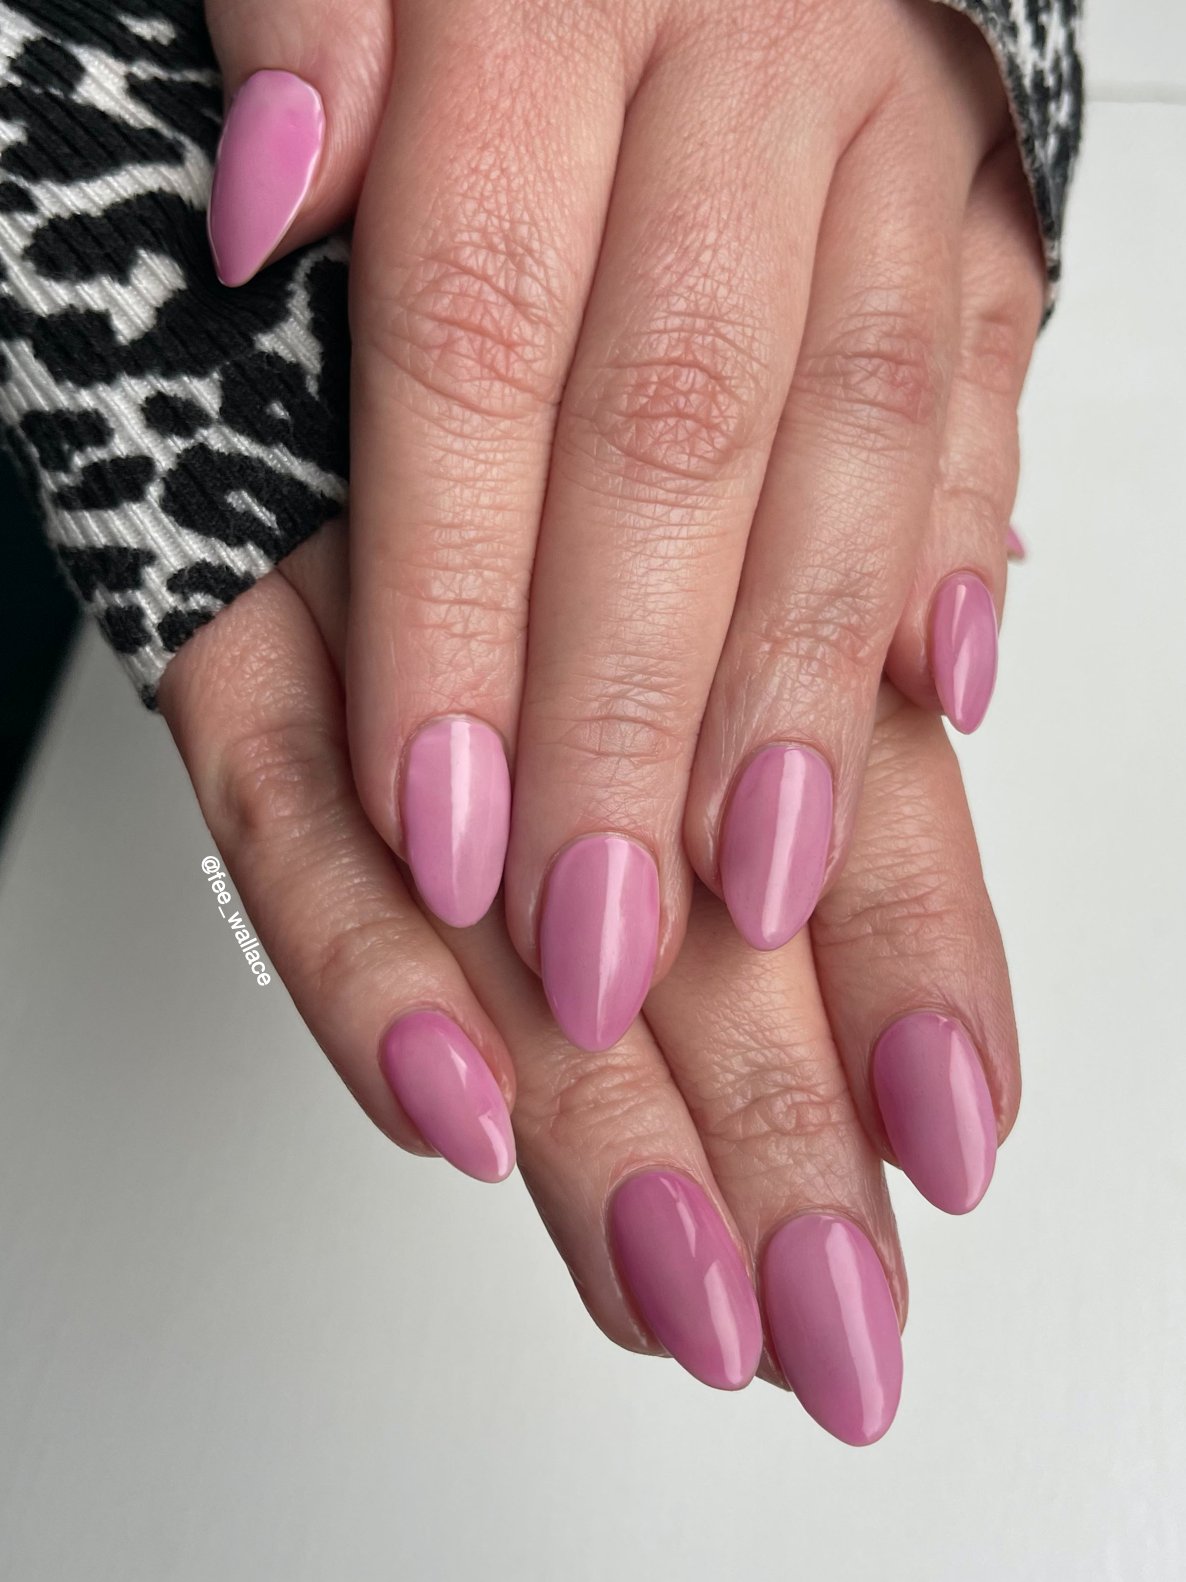
We decided to begin with the CND™ Shellac™ shade Romantique, to create a lighter, even base colour on which to apply our ‘lip gloss’.
Romantique is a classic CND™ shade we have had in the collection since day one. Not everyone loves it as it can be a little tricky to apply flawlessly, especially on imperfect natural nail surfaces, but here on beautifully smooth CND™ PLEXIGEL™ enhancements, Romantique goes on like a dream.
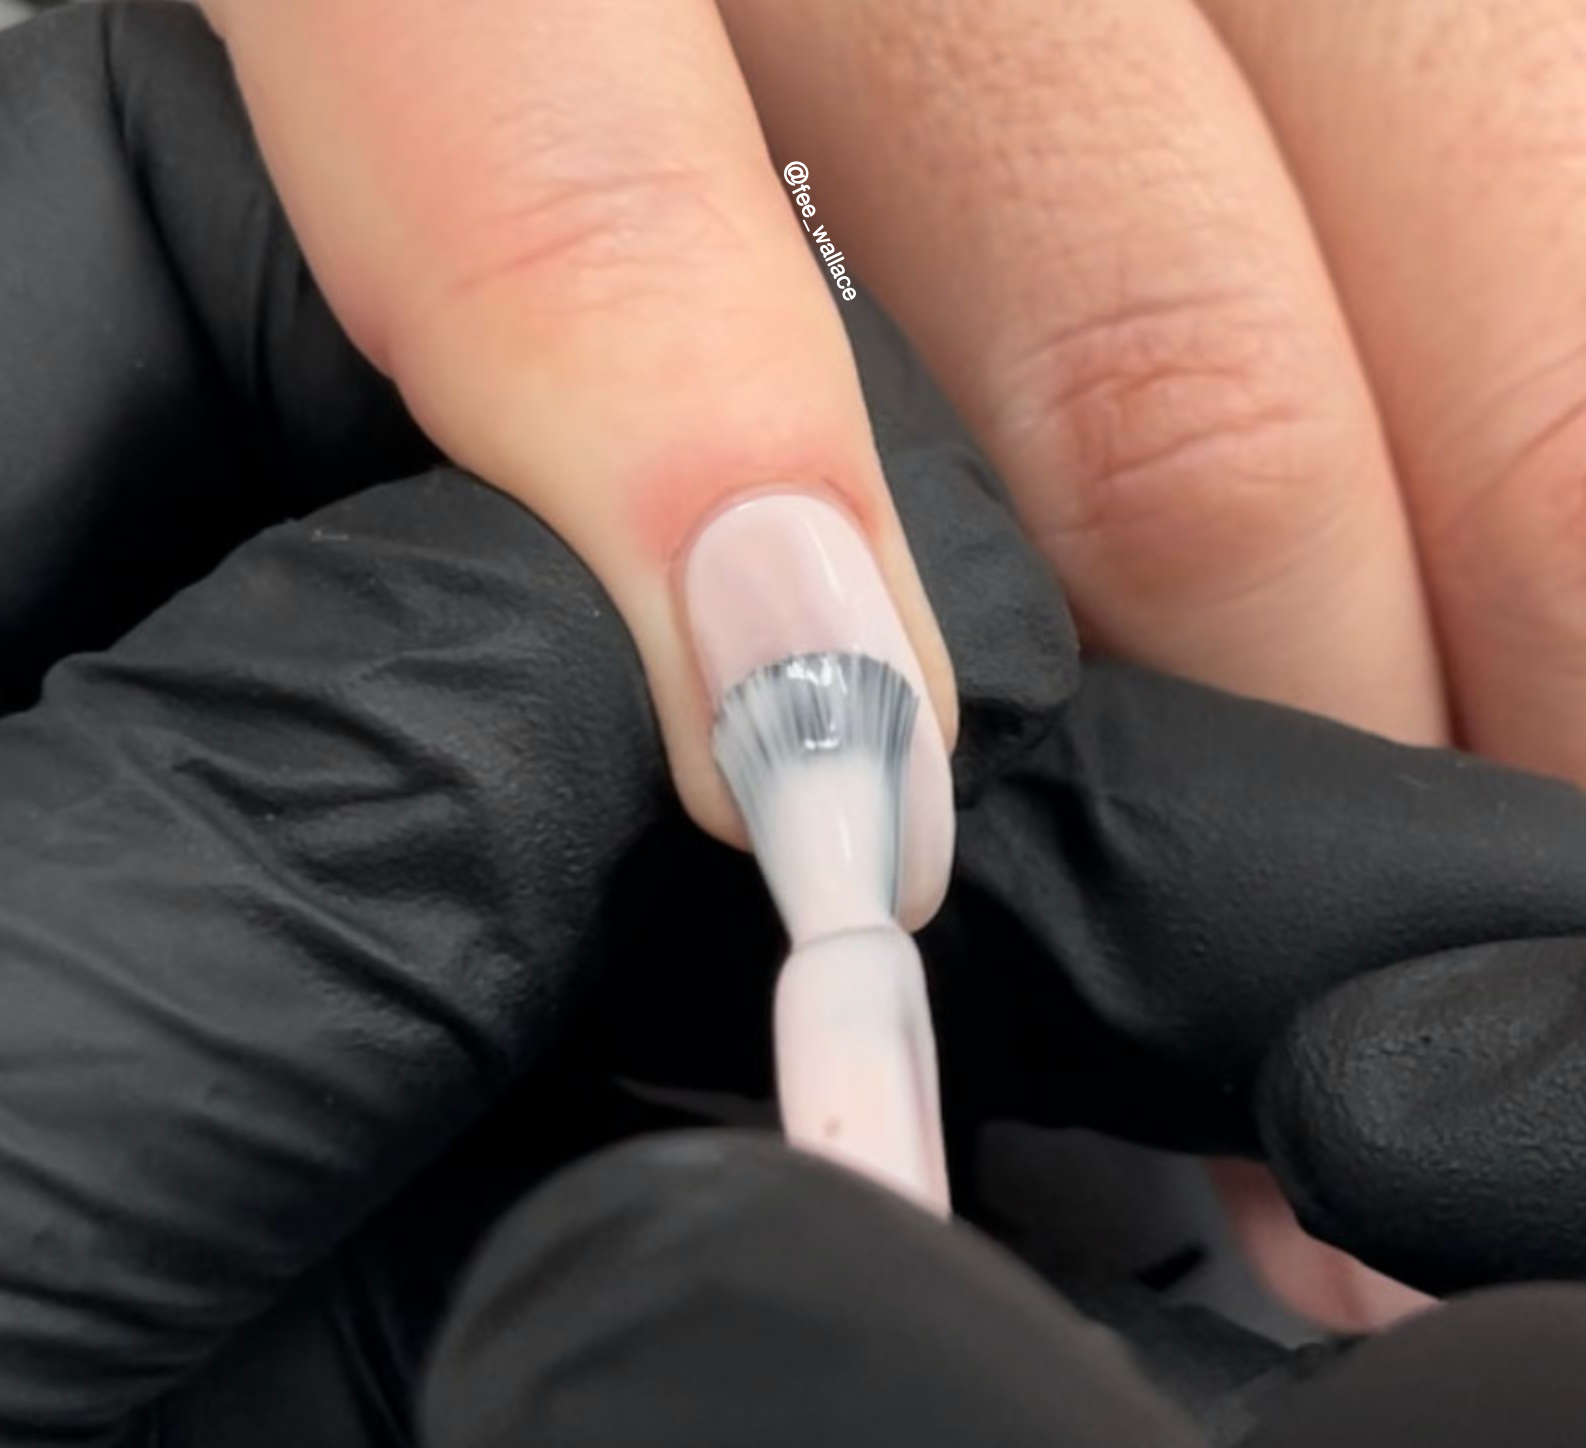
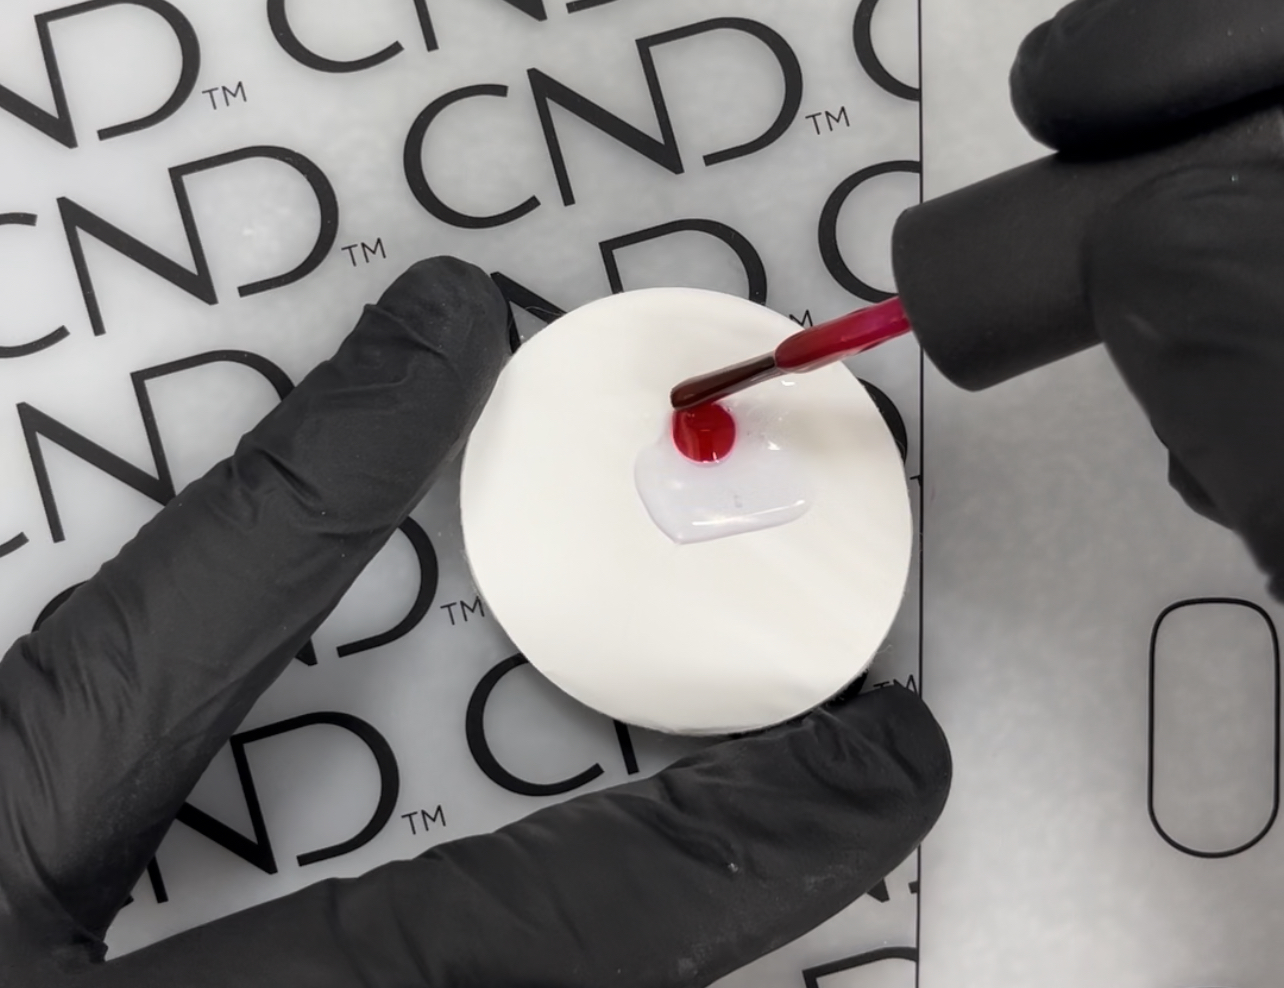
The next step is to create our custom gloss. We are going to mix a little CND™ PLEXIGEL™ SHAPER, with a drop or two of the CND™ Shellac™ shade Pink Leggings.
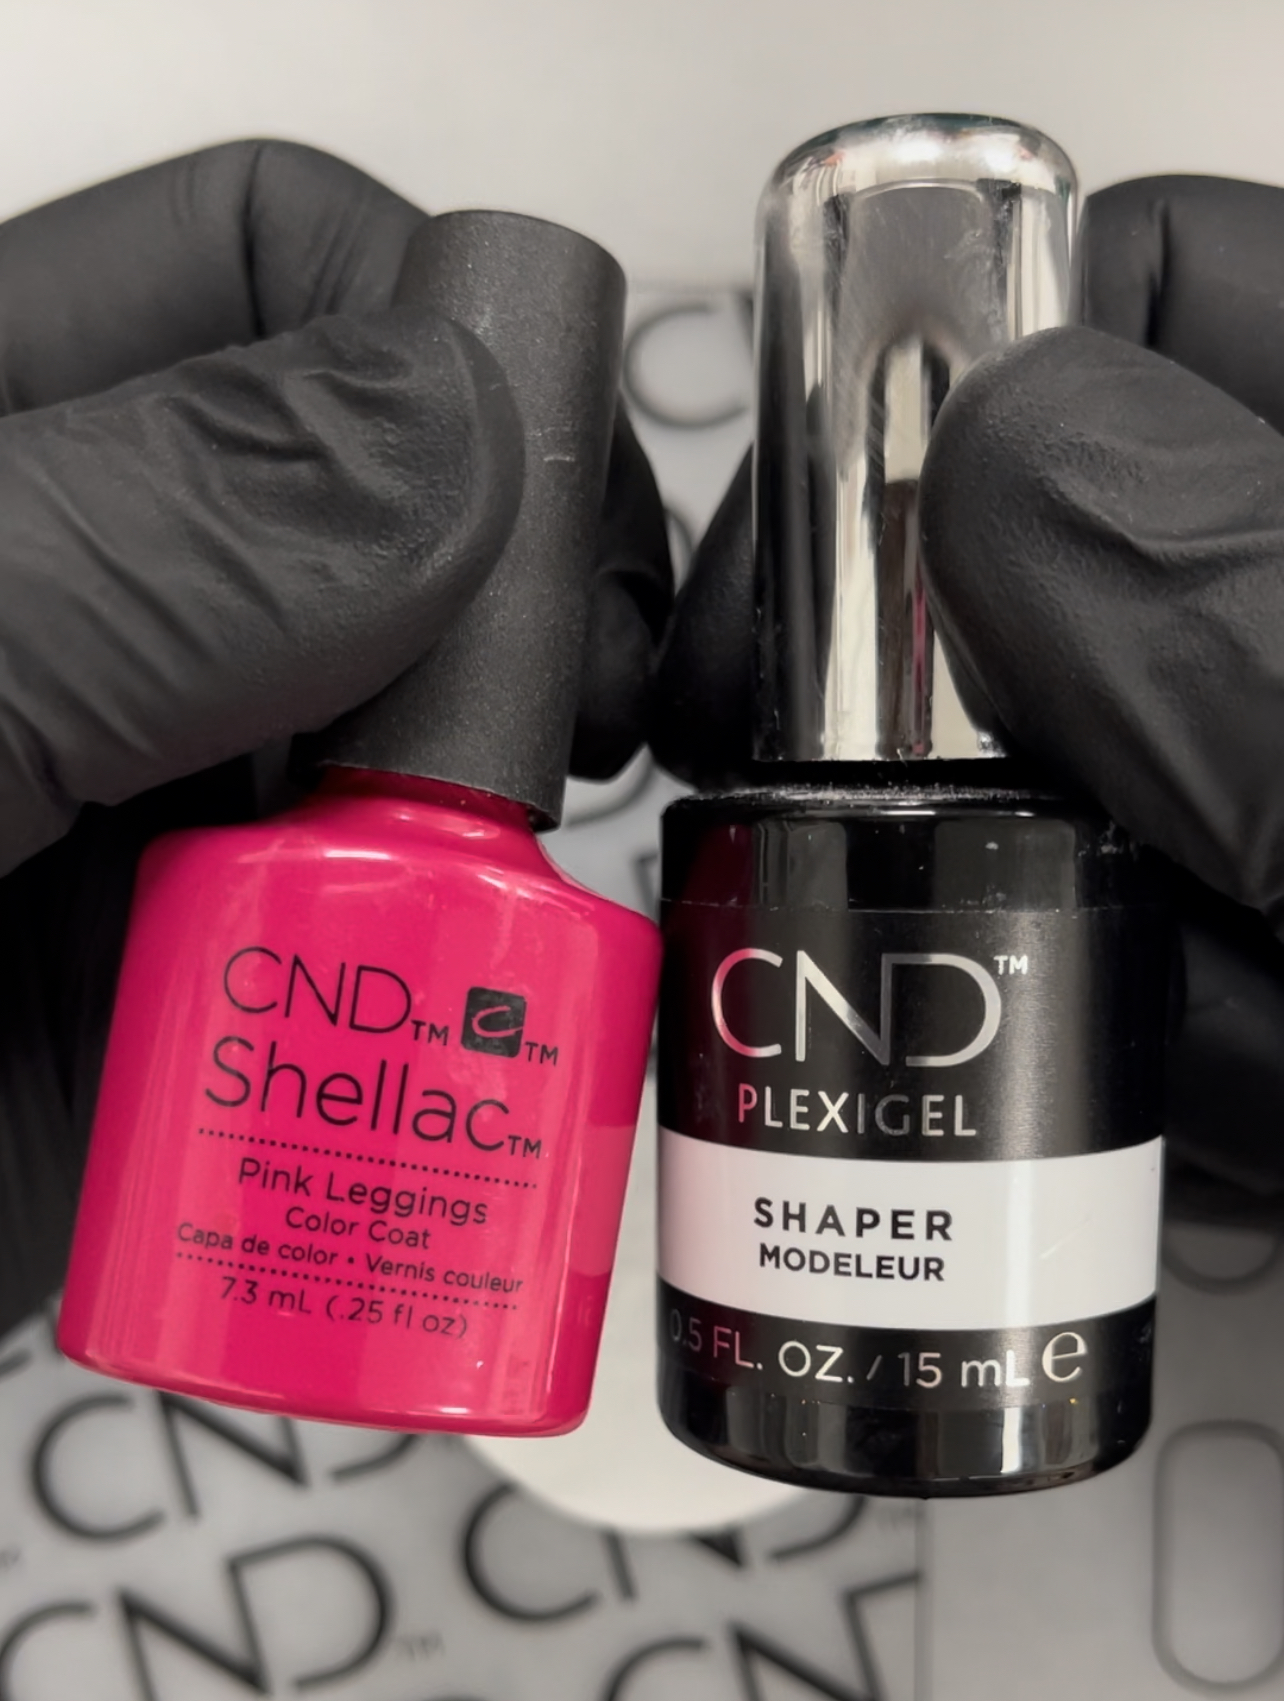
Why Pink Leggings? In theory you could use any Shellac™ colour in this way to create a sheer gloss layer with a hint of colour, but I recommend choosing a colour that is already very glossy and slightly sheer. Pink Leggings is perfect because not only is it already glossy and wet looking, but it also has a teeny tiny hint of sparkle which lifts the lip gloss effect over an opaque base.
Other examples of Shellac™ shades that fit the bill are Ripe Guava, Decadence, Psychedelic, or Video Violet.
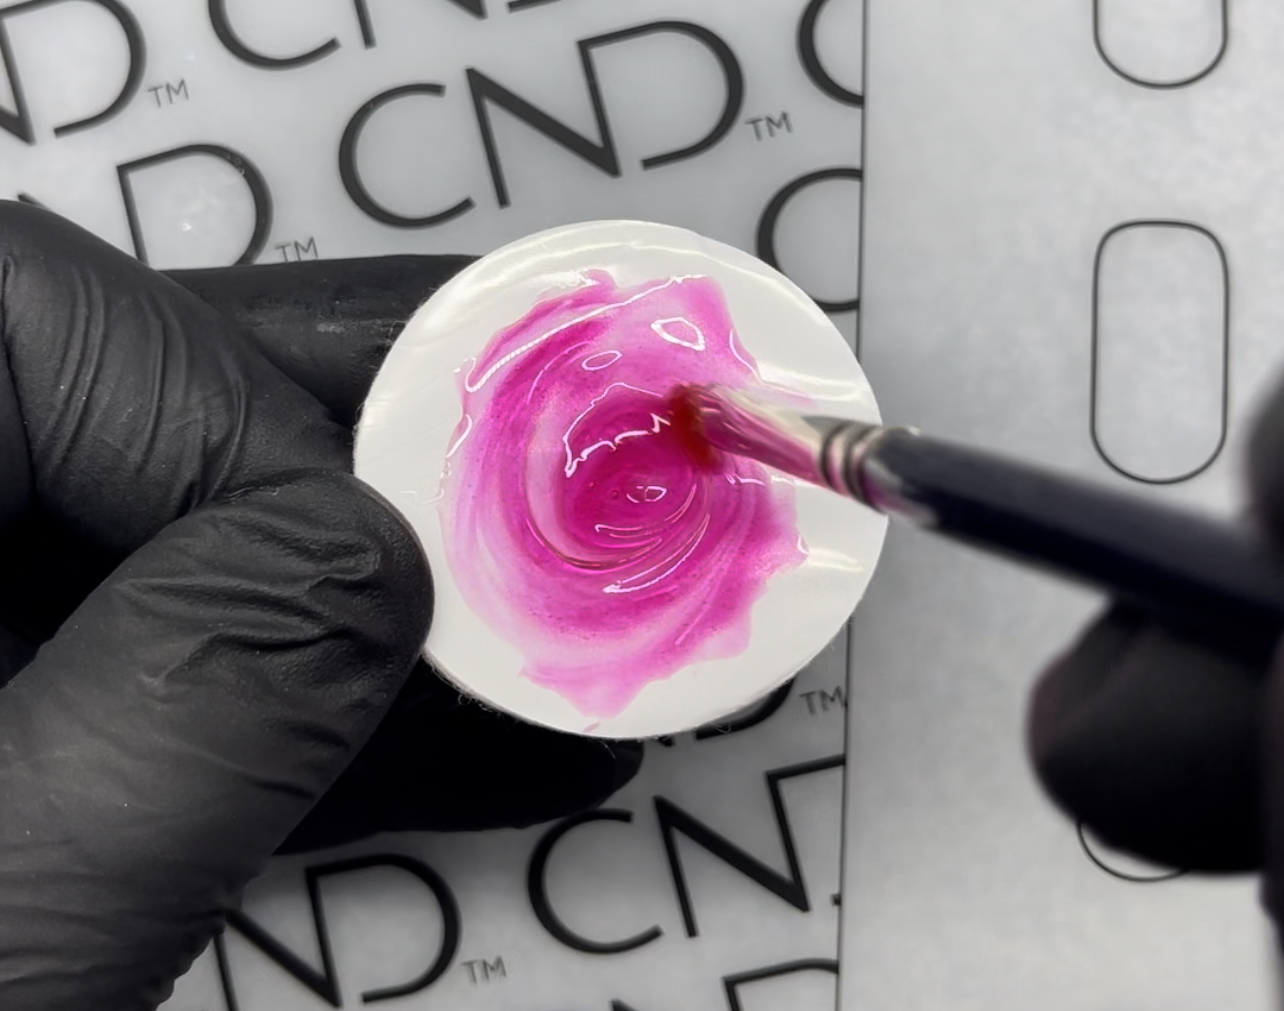
Mix the custom colour together on a plastic backed pad or pallet with a gel brush or mixing spatula. Only mix as much as you need, and use it straight away. Traditionally, CND™ do not recommend mixing Shellac™ shades with PLEXIGEL™, but sometimes, for special effects it can be appropriate to break the rules a little.
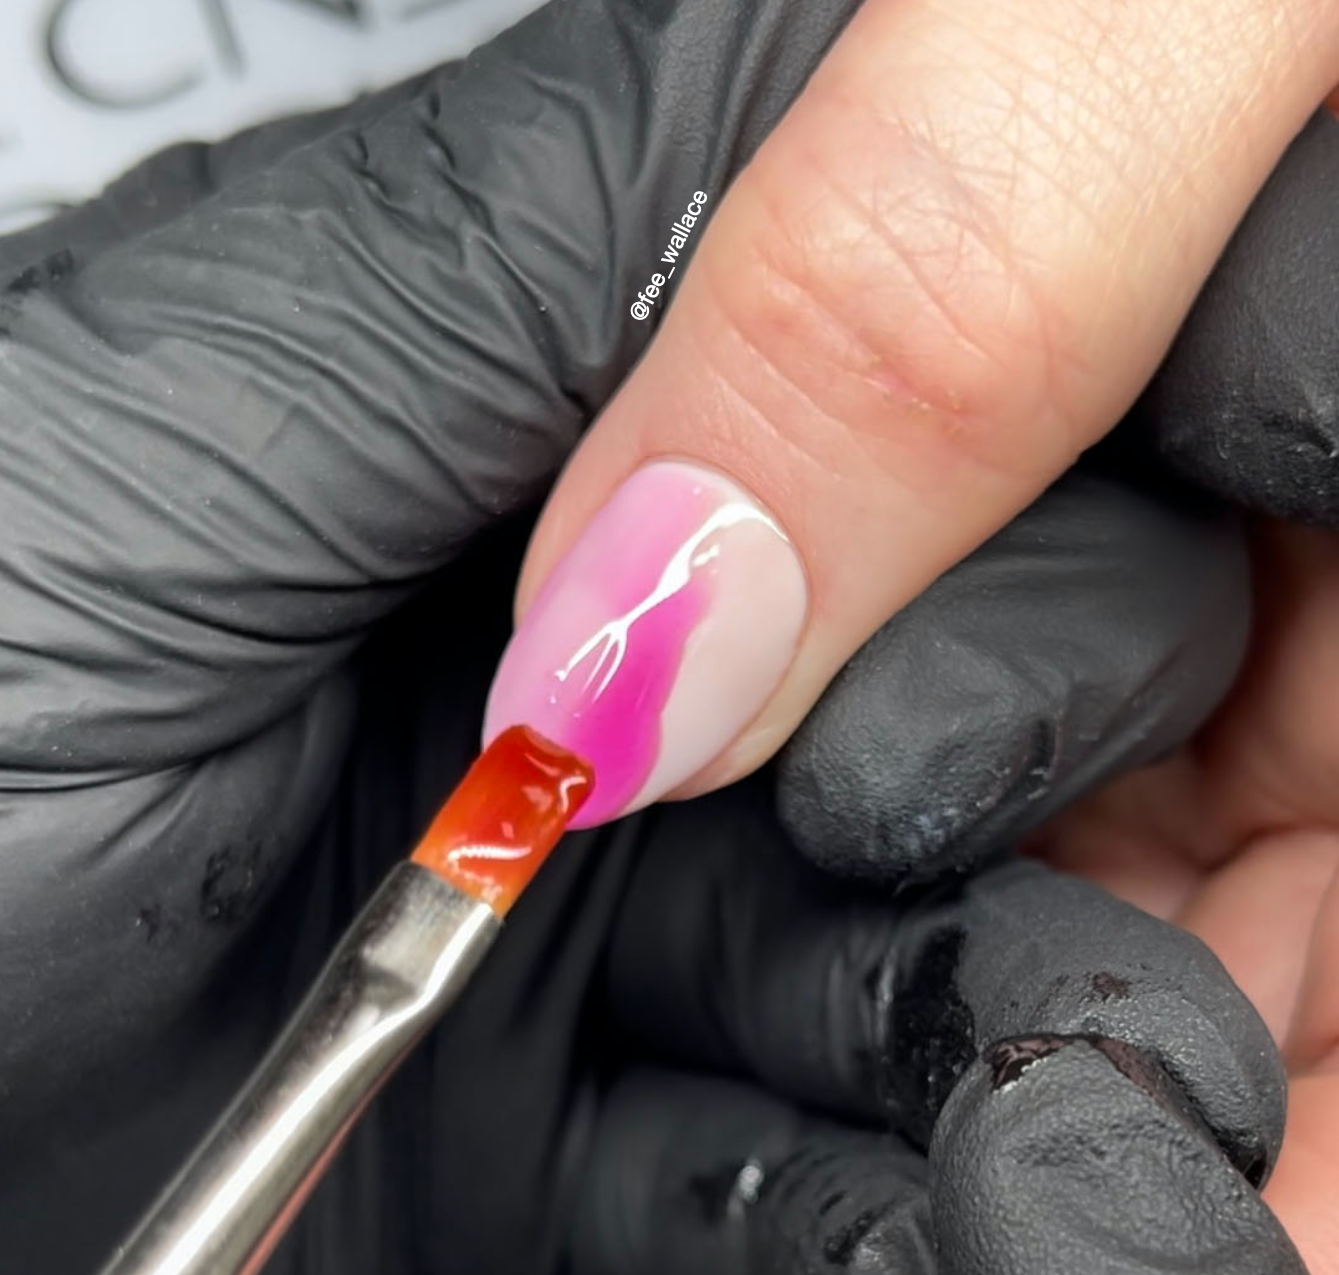
The custom gloss we created is applied in one thin layer, using a gel brush, over the file finished PLEXIGEL™ enhancement that has already had a layer of Shellac™colour applied and cured.

Be sure to apply the gloss evenly, pulling off any excess with your brush as you work. Experiment with the thickness of this layer to alter the look, but I recommend keeping it thin to ensure a proper cure.
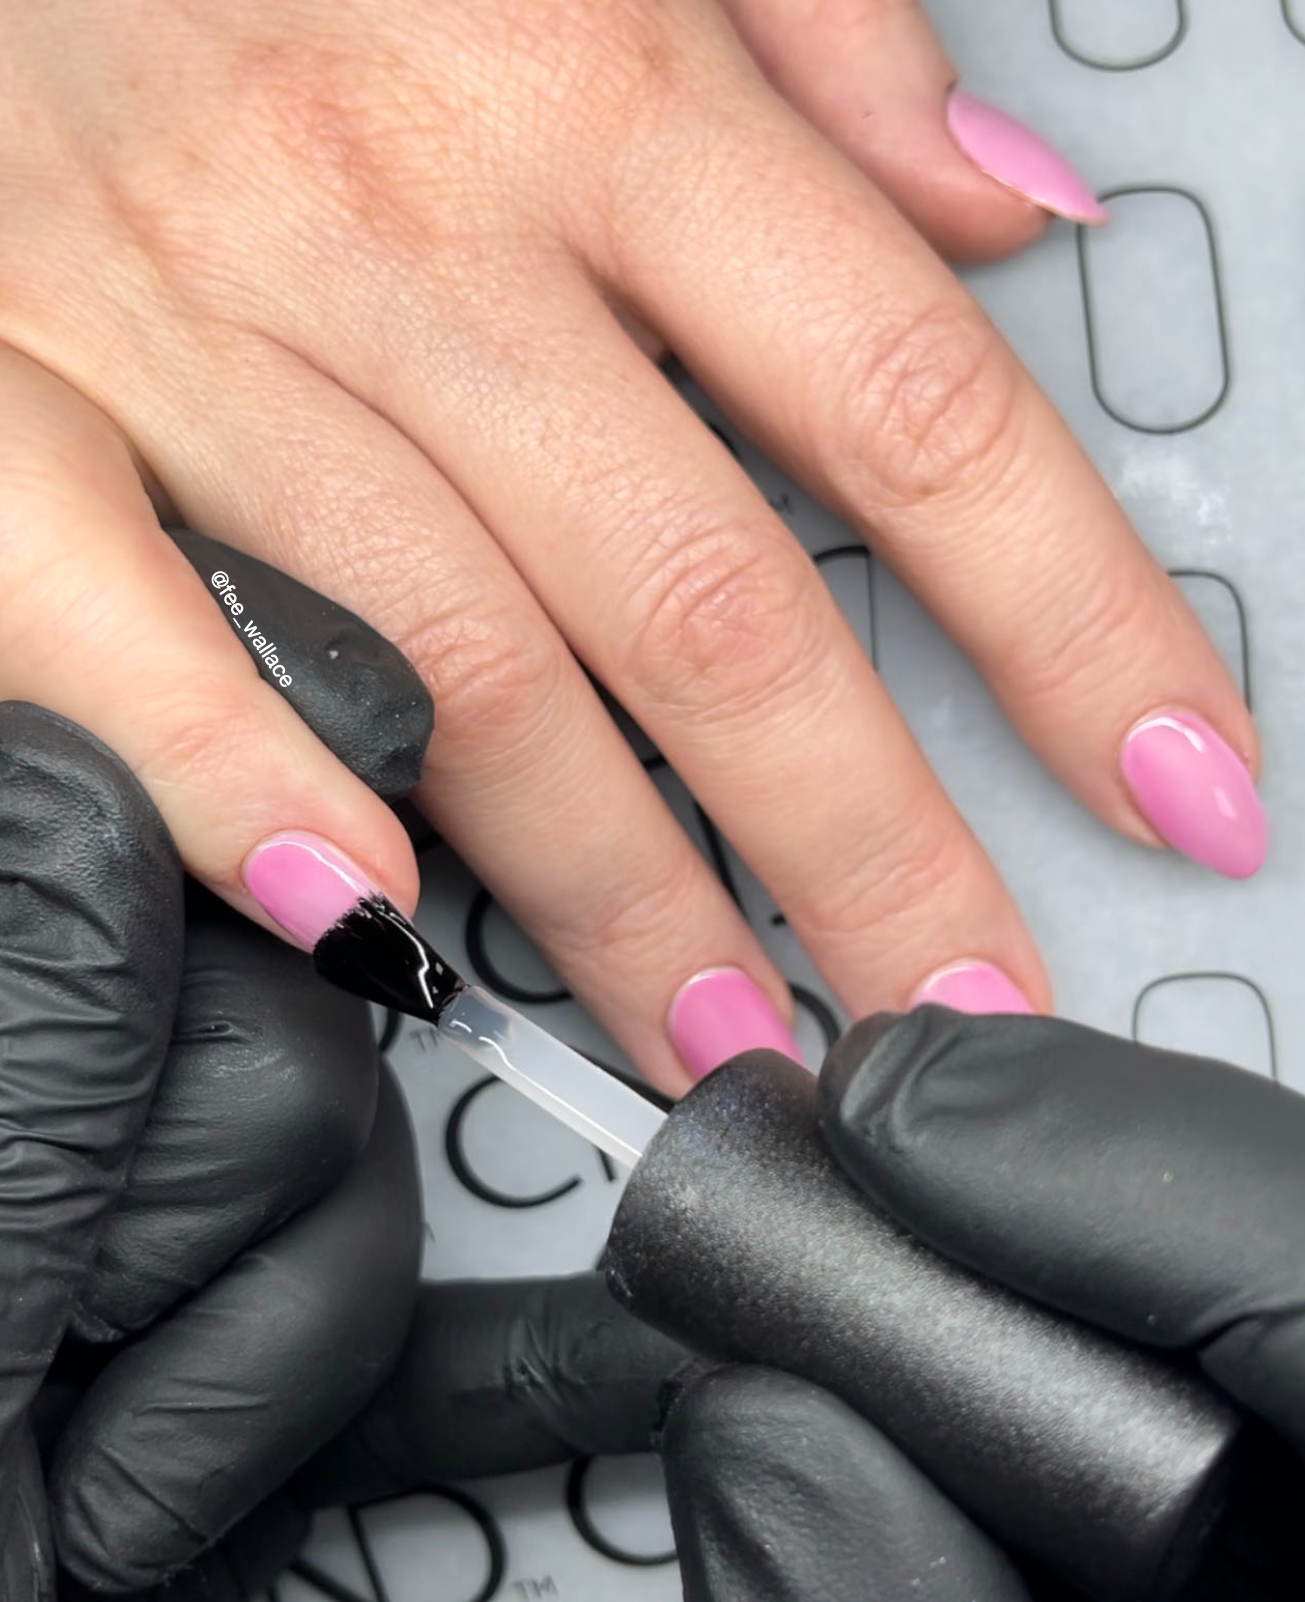
After curing the gloss layer in the CND™ LED Lamp using button 2B, it’s time for top coat. Use the CND™ Shellac™ Top Coat of your choice. My client pictured here, is wearing CND™ PLEXIGEL™ enhancements and goes 4 weeks between appointments, so we need a top coat that is tough and stain resistant, so we chose CND™ Shellac™ Duraforce Top Coat.
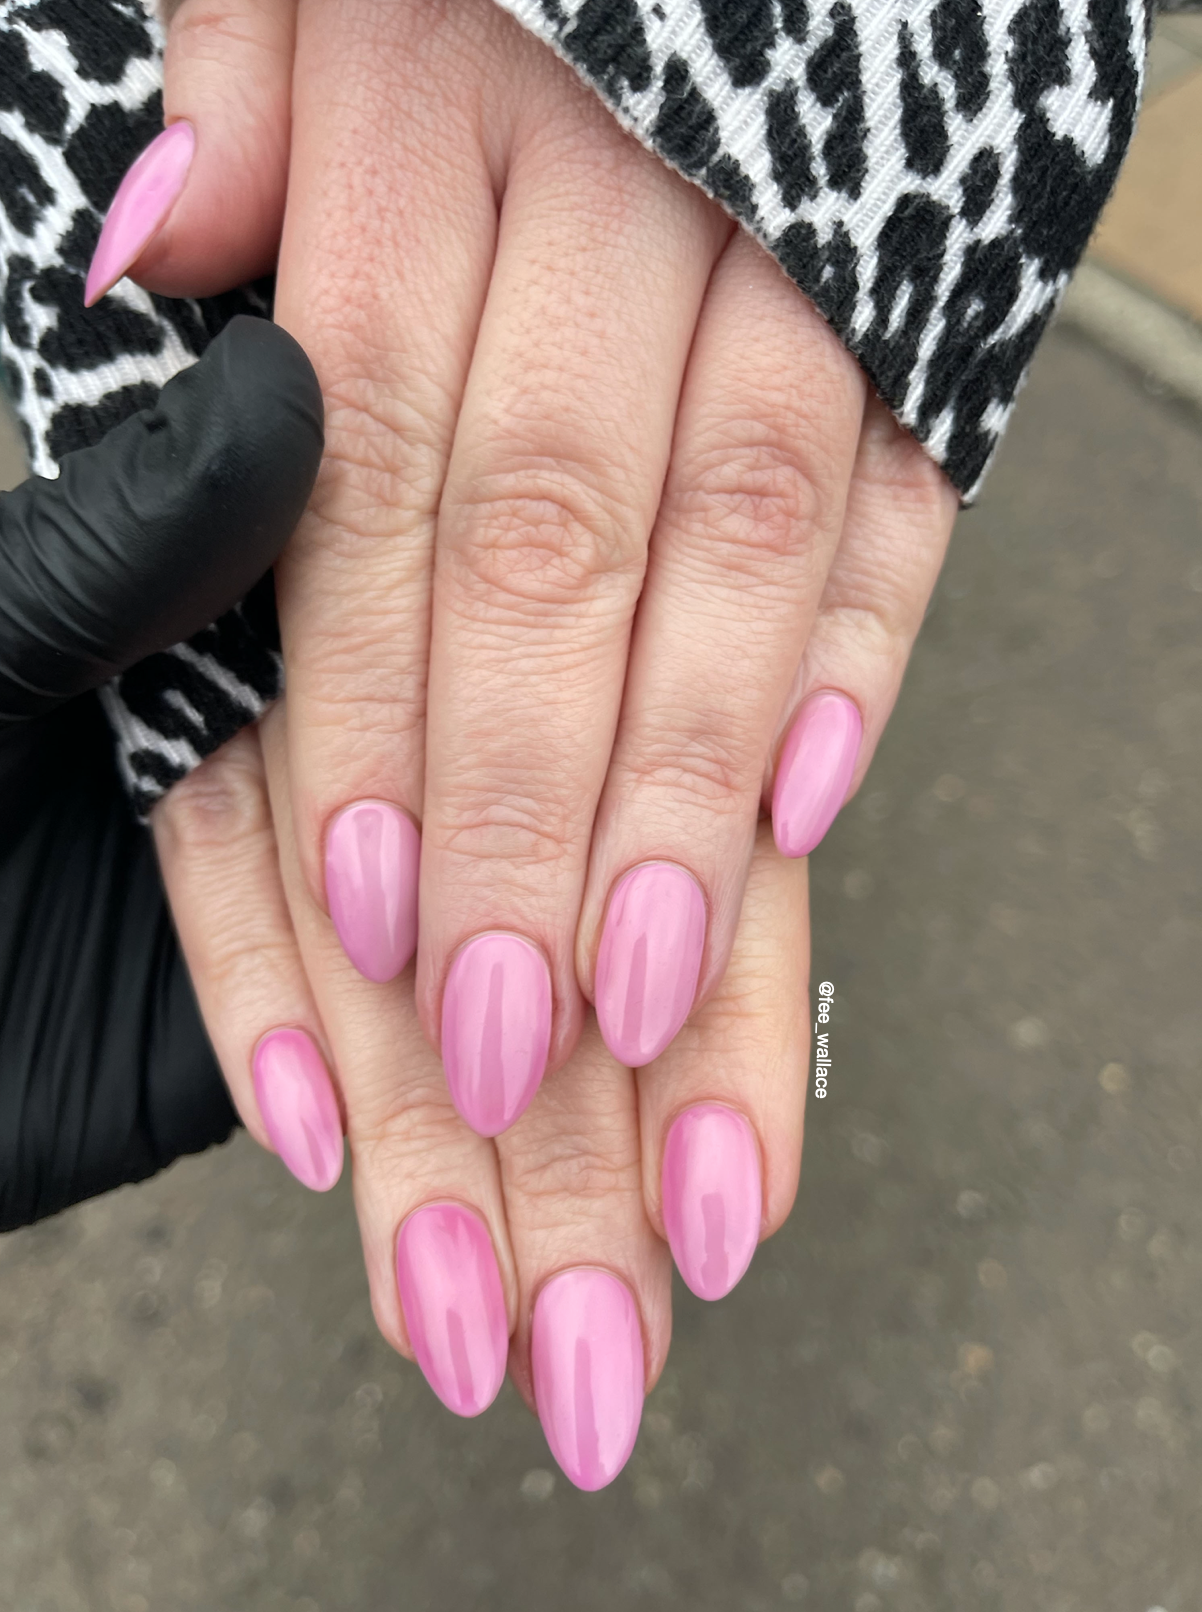
My client loved the effect and wants to try it again next time over a different base colour. I can’t wait to give her another fabulous lip gloss look!
Thanks so much for checking out the blog! You can find me, Fee Wallace on:
Facebook - https://www.facebook.com/fee.wallace
Instagram - https://www.instagram.com/fee_wallace/
TikTok - https://www.tiktok.com/@fee_wallace