PRO TIPS FOR CND™ PLEXIGEL - REMOVAL AND REBALANCE
22nd Jan 2021
Removal:
The first thing to remember when removing, is that the majority of the product will be in the centralised spine of an enhancement, whether that’s for a natural nail overlay or an enhancement, using builder. At this point you can use a 100-180 grit file such as the CND™ Blizzard Board.
To get to around the edges, that are closer to the natural nail and living tissue, use CND™ Kanga File. Although this is typically used to shape the natural nail, due to it being so slim, it allows you to get to those tricky areas, without compromising the natural nail. When working down the lateral folds and down the extension edge, be careful not to take the file under the nail. This could potentially take away some of the client's lower arch and into the client’s natural nail.
Remove 95% of CND™ PLEXIGEL with a file before, moving onto wrapping the enhancement that’s to be removed.
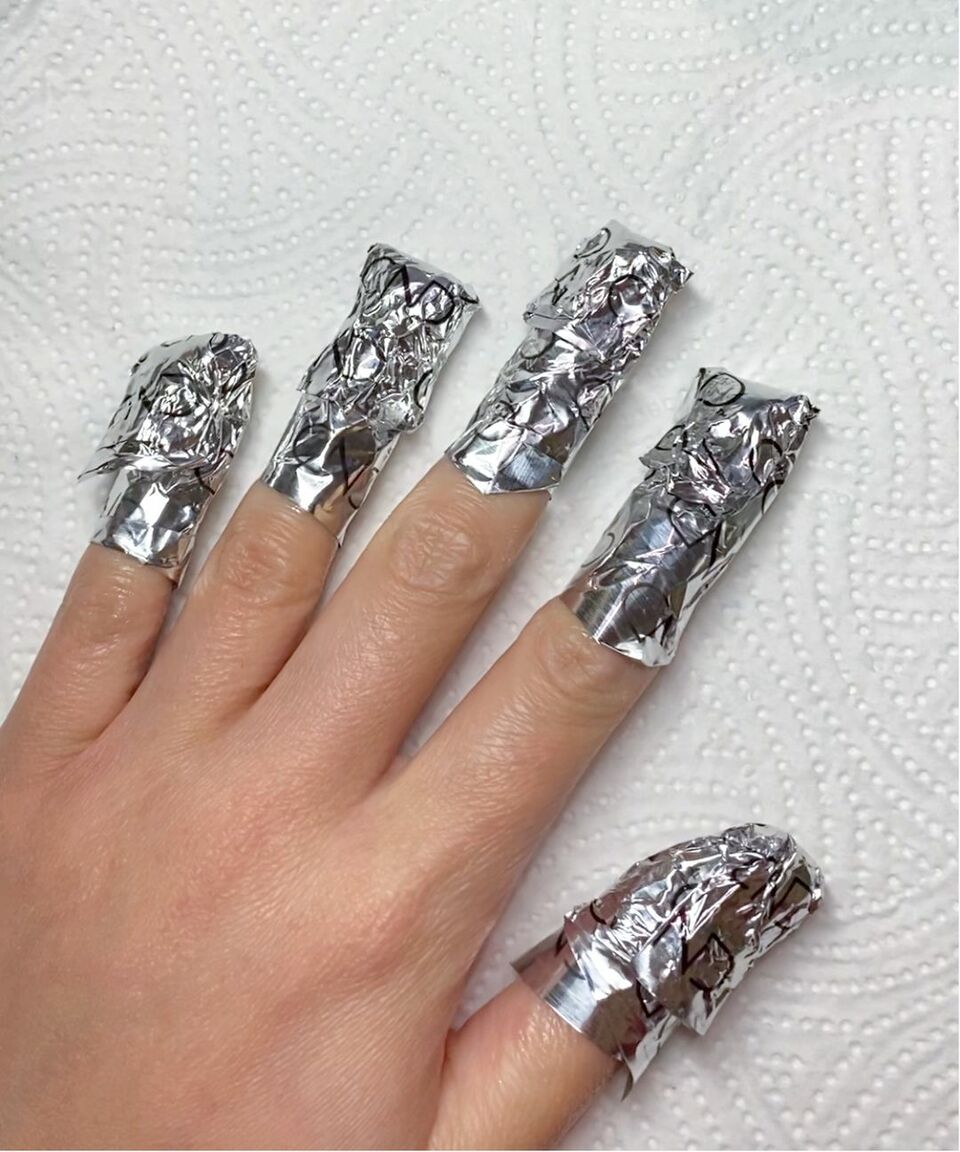
When it comes to wrap for removal, remember SIT:
S - Saturate: Ensure the pad in your CND™ Removal Wraps are fully saturated, using 2-3 pumps of CND™ Offly Fast™
I - In place: Get your wrap in place, under the natural nail with the fold of the wrap towards you.
T - Tight: Make sure you fold the wrap as tight as possible. Any gaps will allow the solvents to evaporate resulting in an ineffective removal.
Leave your wraps on for 20 minutes, giving them a squeeze roughly half-way through to re-inject the remover onto the enhancement. Don’t remove the wraps all in one, remove one nail at a time, otherwise the product may harden. You can use the line of light to help guide you on whether you have all the product off.

Rebalance Assessment:
The first step to deciding if you should do a rebalance or removal of CND™ PLEXIGEL, is to assess the nail. The good thing about CND™ PLEXIGEL is that it’s clear. It allows you to keep an eye on the integrity of the natural nail and to make sure everything is healthy underneath. If you are experiencing any lifting from CND™ PLEXIGEL this could be down to your prep.
Can you see any lifting, cracks or chips? This will determine whether you should remove rather than rebalance.
- If you get any lifting, you may see a change in colour or it may look a bit cloudy. As you start filing, it will begin to chip away, this means that you can file to the edge of the cloudiness/discolouration and the product will come away itself, meaning that you won’t be touching or affecting the natural nail.
- If you have lifting around the proximal nail fold, lateral fold or cuticle line, it’s likely that you’ve not prepped correctly or that you’ve got product on the skin that’s creating a barrier. Re-access your application and re-access your preparation and take it from there.
- If you're getting pocket lifting, you’ve maybe not removed surface shine or it’s possible your client is suffering with hyperhidrosis or excessive oily skin, which can be transferred onto the nail. In which case, we suggest to use a PEP booster, such as CND™ NailFresh.
For more information on how to perform the perfect PREP, then visit our blog post here.
Application:
Points to remember:
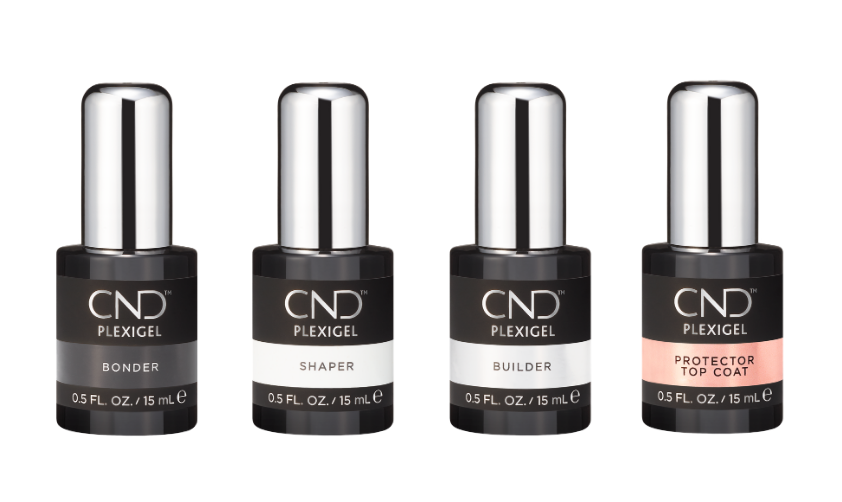
- You cannot apply CND™ PLEXIGEL without bonder. Without it, the product will lift.
- When using any of the CND™ PLEXIGEL products, make sure you do not shake the bottle as this can create bubbles. Shaper and Builder can be used straight from the bottle. Bonder and the Protector Top Coat bottles, require a gentle roll.
- CND™ PLEXIGEL Protector Top Coat can be used over Shellac, however it must be used as part of the CND™ PLEXIGEL system. Think of this as a PLEXIGEL sandwich. You could sandwich your Shellac between Builder/Shaper and your Protector Top Coat. You cannot however, use CND™ PLEXIGEL Top Coat, over a standard CND™ Shellac Manicure, as it is likely to cause service breakdown such as cracks and chips.
When performing a rebalance, remember Bonder is only applied to the natural nail – anywhere that you can see the natural nail, then apply. If there is any lifting, this should be removed first.
Apply shaper over the entire surface of the nail. It is optional to cure this layer. For your second layer, lightly float and tail the product to create structure. Work with the brush and keep it parallel to the nail. Your apex will now be placed further back and you have the correct balance to give strength and structure.
When working with Builder, you will need more product to maintain enough structure to support the additional length of the enhancement As with Shaper, use the same floating application technique, keeping it slow and steady. CND™ PLEXIGEL self-levels so it makes application extra easy.
During a rebalance, when re-shaping the extensions edge, don’t file any higher up into the side walls than the tip of the finger. With an enhancement, you want a really strong lower arch. The extensions edge should appear as a straight line coming from the lateral fold to the tip of the finger. This is the key to success with enhancements. If you take too much away, you are going to lose the foundation of your structure. If your client knocks a nail without a lower arch, you are likely to see a break directly across the stress area.
Curing:
If your client has weak nails, a high C curve or experiences heat spikes, then use the custom cure technique recommended by the CND ™ lamp. Place the nail in for 2-3 flashes to slow the chemical reaction which can cause the heat spike or exothermic reaction, making it more comfortable for the client. This custom cure setting is recommended when using CND™ PLEXIGEL.
Finish Filing:
When finish filing, consider if the apex is where you want it and if the end is tapered and thin enough as you would like. If you’re struggling with visually seeing if you have the correct structure, close your eyes and feel the nail, it’s a great way to determine an uneven surface.
Aftercare:
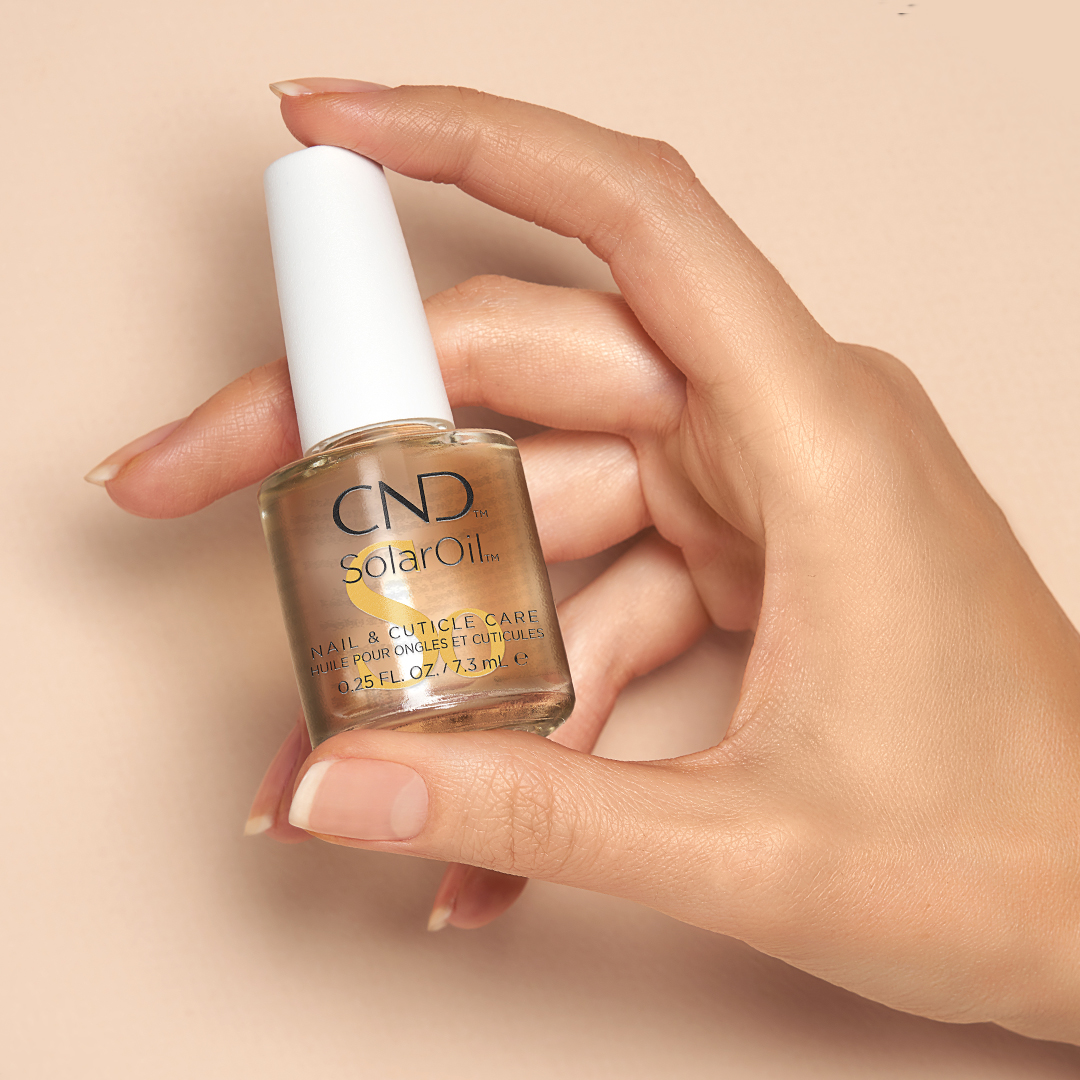
You should always encourage your clients to keep up with their home-care. It makes your job much easier. For example, if your client is regularly using CND™ SolarOil, what that does, is keep the product really pliable. If your client bangs her nail, it will flex with coating, helping to reduce any lifting. You will also have less cuticle work to do, making it a much easier service.
If your clients are following their home-care routines, your clients will be more likely to need a rebalance as opposed to, potentially, a full set of removal and re-application. This will mean that you are using much less product and will be more cost effective for you. Rebalancing is also better for protecting the natural nail, rather than removing and reapplying all of the time.
For a full, step-by-step CND™ PLEXIGEL rebalance and removal visit our blog.
Alternatively, you can watch Victoria Trafford, sharing her tips and tricks in a live demonstration on Facebook here.


