The Ultimate Nail File Guide with Fee Wallace
Posted by Fee Wallace on 8th Sep 2021
In my life as a nail professional, I have had many favourite files. When you find a file, you love to work with, it's easy to become so attached to that one type of file that we use it all the time for everything. Then eventually that fateful day comes along when the file of your life gets discontinued, and somehow, you have to find a way to move on. Going back out into the world to find a new file to replace the old one is not always easy. There are tons of files to choose from, and so many opinions and recommendations out there. We can end up questioning our procedure and the way we’ve been doing things, and find ourselves stuck with a new selection of files, none of which quite fit the way we are accustomed to working.
If you are changing your files because your old favourite is no longer available, or you just think it is time to try something new, it pays to take a step back, take a deep breath, and consider all the options.
In post lockdown times, many of us now use a new file per client, starting with a fresh set for the next client, when in the past we may have disinfected the files and used them on multiple clients. Because of this, I have spoken to lots of nail professionals seeking a good quality budget version of the premium files they used to use. I’ll be advising my budget recommendations later in the blog.
When we first learn to do nails, it is usually the filing that feels the most alien. It can seem like it will never come naturally and our nail services will always take 5 hours because we have to spend so much time filing! But of course, the filing, like everything else, does become easier. We get better at applying the product with precision, which means the more experienced we get, the less and less filing there is to do.
Visit the Files and Buffers section of sweetsquared.com and you will find multiple different items to choose from. It is great to have options, but how on earth to decide? In this blog I’ll walk us through our main filing needs, the files and buffers we have available to us, and share my own favourite set of files to work with.
My first piece of advice when creating your ideal perfect set of files, is to consider what you need them for. As nail professionals we understand that different jobs require different grit numbers, and that choice of shape, texture, and the material the file is made from, come secondary to that. Put another way, the appropriate grit number is a rule of law, but shape, size, colour, material, is down to personal preference.

TIP – The lower the number, the rougher the file. A super smooth buffer can be up to a 12000 grit. A file designed for the natural nail will be around a 240 grit. The roughest type of file we reserve for debulking nail enhancements is around a 100 grit.
File grits are represented as a number, slash, another number, this refers to the grit numbers on each side of the file. A 100/180 file is a 100 grit on one side, and 180 grit on the other.
Another thing to consider is how brand specific you want to be. For some of us, using our professional products as a system, means only using branded files with branded products. For others, it’s perfectly fine to have a selection of files from different brands. Either way is ok in my book. For most of my career I was a very brand specific professional. I only used CND Files with CND products when completing a CND service, and would reset my entire nail station (apron, towels and all) if I had a client in for a Light Elegance service. These days, my priorities and there for my set up, have changed a little. While I still always follow protocol in terms of not combining products from different brands (I wouldn’t cure CND Shellac in a Lecenté Lamp for example), I do now have a set of files and tools that I use across the board, regardless of what brand’s product I choose for my client’s nail service.
TIP – Every brand has its on specific recommendations for which files to use for what. If you are new to nails, you will find this information in your, education manuals and product specific step by steps. I recommend using what is suggested at first, and only once you are practiced and comfortable with the procedures, consider changing up your files and tool kit.

A Question of Client Comfort
When files are brand new out of the packet they often have sharp edges, a result of how they are cut to shape at the factory where they were manufactured. Always keep and old file handy to run along the 4 edges of your new file, smoothing off any sharp ragged edges. This will allow you to use the new file with confidence, much MUCH less likely to accidentally cut the client. This is especially important with lower grit files.
A friction burn is where the client suddenly experiences a burst of intense heat right where you are filing. Any kind of friction creates heat. If you rub your hands together vigorously right now, you will feel that warmth builds up pretty quickly. How much pressure we apply (how heavily we lean/press down) as we file plays a big part in this. Leaning heavily during filing will NOT make the work happen any faster. Applying pressure during filing will cause discomfort for and client and ultimately, also for you. A light touch as you file, will greatly reduce the heat build up, and also the pressure on your own hand joints and muscles.
Sometimes we do find that there is one little area that we need to keep filing at, and friction could be caused, even with a light touch. Here I recommend pausing for a second every 3-4 strokes of the file. This will prevent the heat from building up and keep your client perfectly comfortable.
How we hold the client’s finger with our off hand while filing, will also make a big difference to client comfort. I always approach holding the clients finger as if I am trying to absorb as much of the vibration caused by filing as possible. This is achieved be making as much contact with the finger as you can. Really cradling the finger with the thumb and fingers of your off hand, will help the client feel safe and secure in your hands, and also physically absorb pressure and vibration, making the entire experience safer and more comfortable for your client.
Choosing the Right File for the Job
Natural Nail Free Edge
When filing the free edge of the natural nail, a grit number of around 240 is ideal. A board with a thinner, more flexible core is usually most appropriate for this job. I have always loved the CND Kanga Board. The flexible wooden core gives me just the right amount of resistance or ‘bounce’ to get the result I want on natural nails whether shaping or reducing length.

A great budget alternative to the CND Kanga would be The Sheek File. The Sheek took it’s design inspiration from the Kanga and comes in at a considerable saving, ideal when you are using a new file for every client, or sending the file home with the client at the end of the service.
Natural Nail Surface & Shine Removal
Using a file on the surface of the natural nail should be undertaken with due caution. We know that nail enhancement products normally require the shine to be removed from the nail surface in order to achieve proper adhesion. A padded file/buffer around 240 grit, used with a light touch, is usually recommend.
Sometimes as part of a traditional manicure or gel polish service, we need to gently buff away delamination (nail layer that are peeling) on the nail surface, and again, a padded 240 grit buffer is ideal to complete this task.
My favourite is the CND Koala Buffer. It’s 240 on one side and 1200 on the other, which is ideal for buffing in oil to a natural nail, toenail or enhancement service, and I have found it doesn’t disintegrate when doing this job, as other buffer can. A budget version of the CND Koala is The Buffer Squish, which again, was designed using the Koala as a muse. I have found it also stands up well to oil buffing, just like it’s CND counterpart.
Filing Enhancements – Rebalancing, Debulking & Shaping
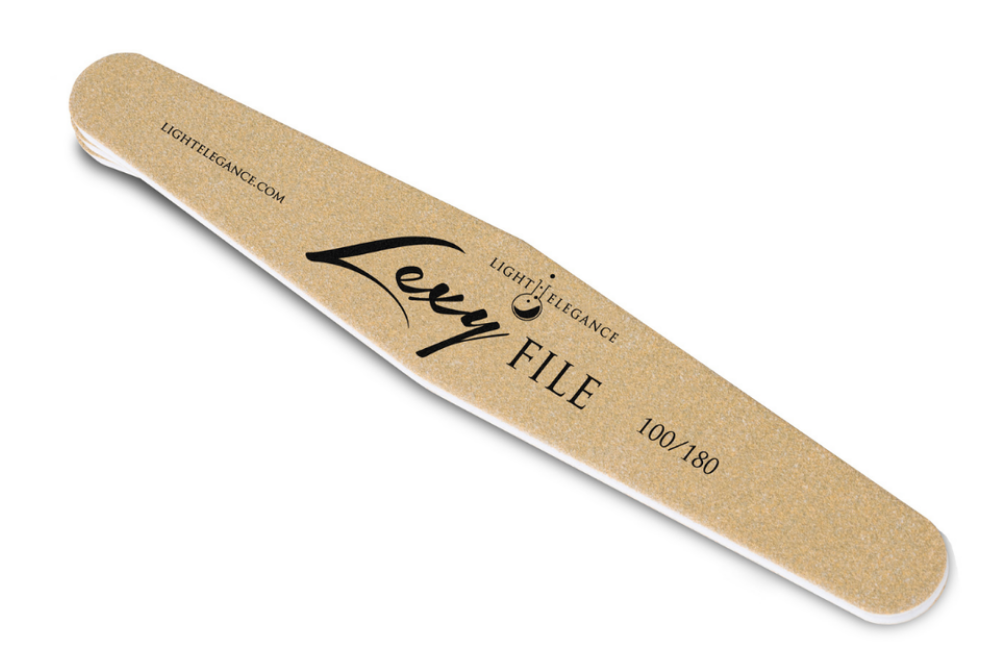
To debulk nail enhancements, whether Liquid & Powder, Hard Gel or Builder Gel, a firm cored board with a lower grit number is required to get the job done efficiently. I would use the same kind of file for the initial file finishing after reapplication during a rebalance, or after applying a new set. Around 180 is a good number to stick with, though especially during debulking old product, a 100 grit used with care, will be extremely useful.
I love the LE Lexy File 100/180. I find it helps me make light work of debulking, removing gel polish from enhancements as part of a rebalance. It’s also great for cutting through lumpy bits after a rushed gel application. An excellent high quality alternative would be the Lecenté 100/180 File. I have only recently started using this file and I think it is superb. The Lecenté files are a light grey colour (not black), which is great when filing product more prone to tiny bubbles such as builder style gels. Let’s be real, we all get tiny bubbles in our enhancement applications sometimes, and big chunks of black file grit don’t look great trapped in an otherwise flawless nail surface. A budget file to meet the same needs as the Lexy or Lecenté files I have described here, would be The Shot File (100/180). This was designed as an alternative to the old favourite CND Hotshot.
Refining & Finishing Enhancements
A padded finishing file is essential for the final stages of file finishing, just before we apply colour or top coat to our client’s enhancements. Filing the surface of an enhancement with a firm cored, non-padded file is necessary for initial shaping, BUT will leave ‘flat spots’ like a peeled potato. To get the peeled potato nail surface smooth like an egg, a padded file is your friend. This is how we ensure a beautifully even nail surface that reflects the light continuously, rather than reflecting back broken up, which results in a bulky looking nail.
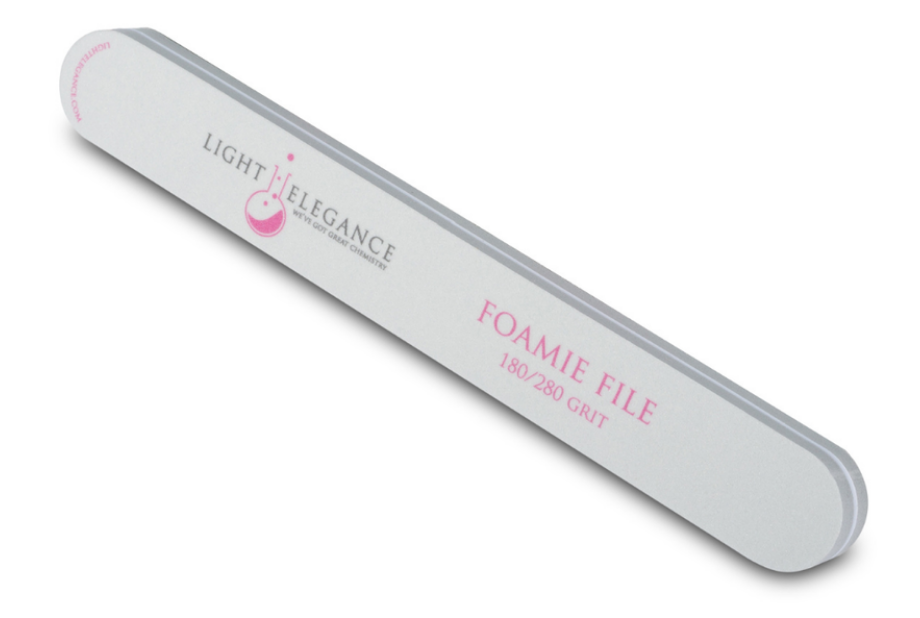
I love the LE Foamie File 180/280. The texture of the foam is ideal for the job of final shape refining, and it feel good in my hand. Other padded files that are popular include the CND Boomerang Padded File or the CND Outblack. For a budget alternative, I recommend using the 240 side of The Sheek File.
High Shine Buffers
Buffing a nail enhancement up to a shine is, in many ways, a lost art. When Liquid & Powder was the most popular enhancement service, we didn’t even use top coat on those nails, we simply buffed them up to a glorious high shine. I honestly still think nothing compares to it. Gel top coats, with the best will in the world, add a little, and sometimes a lot, of bulk to what could have been a perfectly slender nail. If you are using a system that allows for it (L&P, acrylic), I would encourage you to try buffing up to a high shine, especially if you haven’t done it for a while. The greatest high shine buffers ever in my opinion, are the CND Girlfriend Buffer, and the CND Glossing Buffer.
High shine buffers are also commonly used to smooth out imperfections in other types of coating application. If you notice a bit of glitter for example, poking through giving you a bump in your gel top coat, often all you need is a little smooth down with a high shine buffer.
If you are on a quest to re-define your filing, I hope the information here has been useful. I’d love to hear what you think of what’s been discussed here, and if you have any questions I’d love to hear from you too. You can find me, Fee Wallace, over on Facebook, Instagram and TikTok.
https://www.facebook.com/fee.wallace