SHINING MOSAIC NAIL DESIGN USING THE CND SUMMER COLLECTION
Posted by Fee Wallace on 10th May 2022
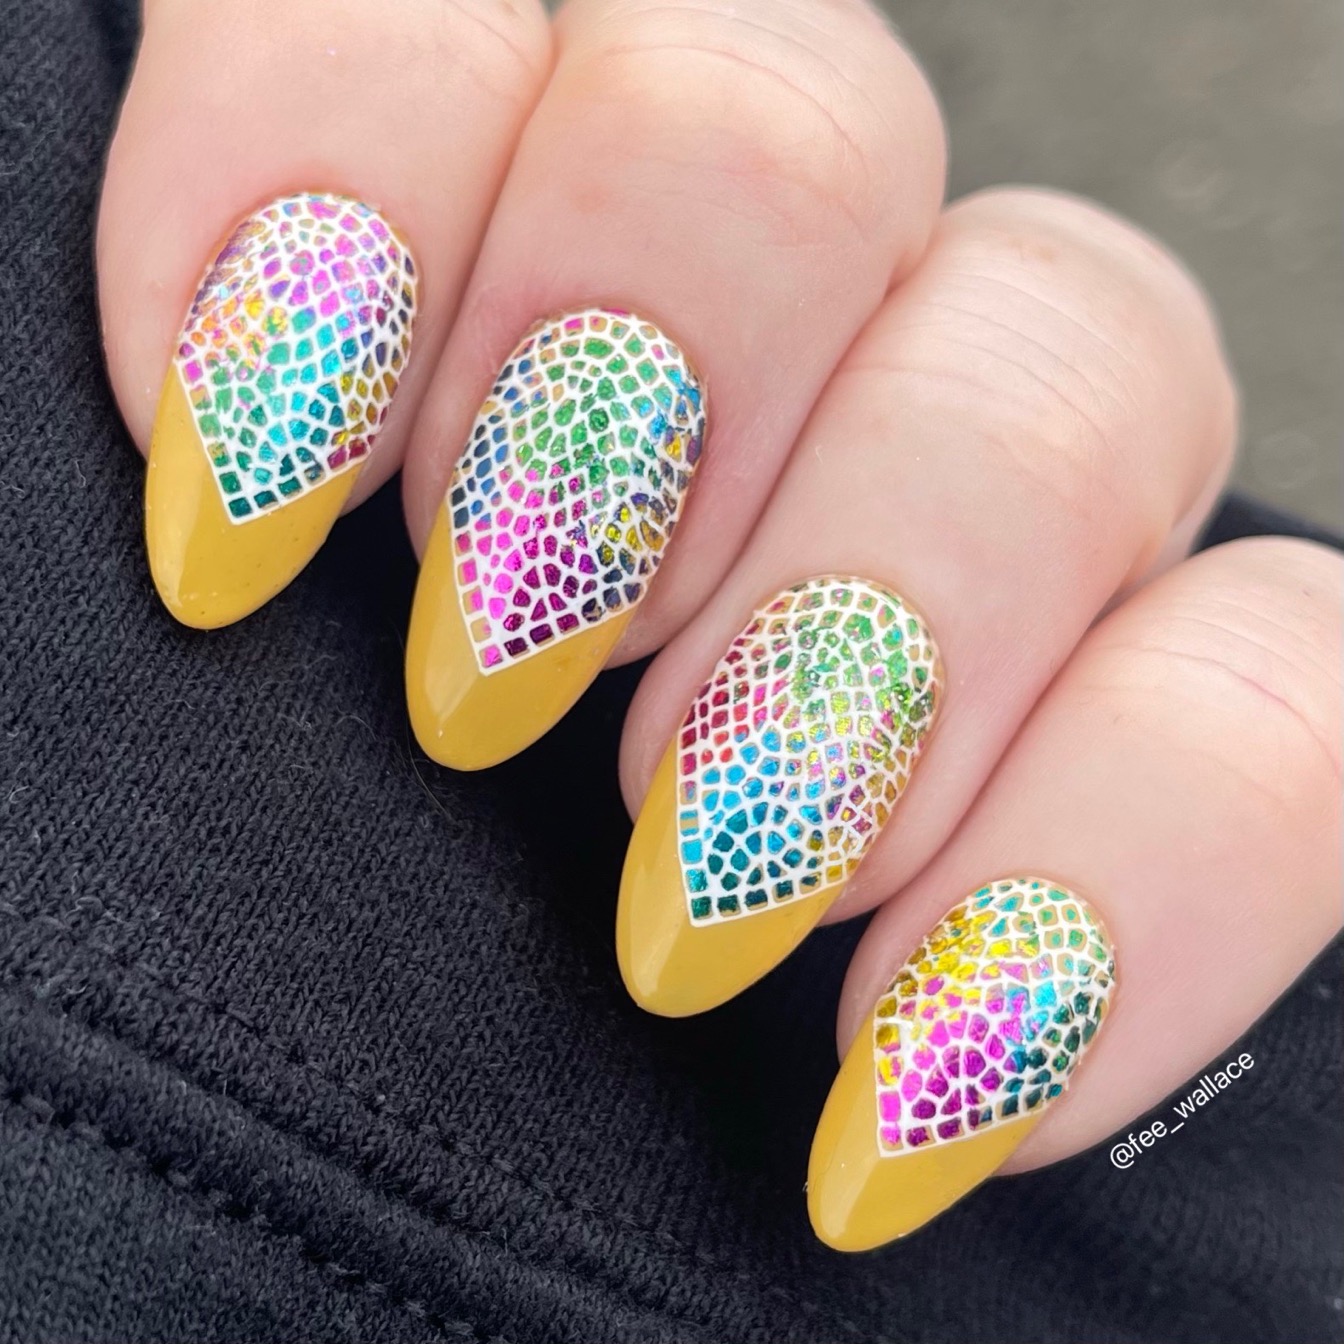
For the launch of CND’s Summer 22’ colour collection, Mediterranean Dream, I was live on Academy2 with our show Tune in Tuesday. It was such a fun experience to host the live webinar event, sharing the excitement for the new colours with viewers from around the UK, Ireland, and beyond.
The unmistakable hit of the day was this vibrant, shimmering, mosaic tile nail design, which I created step-by-step under camera as part of the show. It was one of these designs that happened by accident. I’d been playing and experimenting with the new colours and different bits from my nail art kit all day, I was getting tired and feeling like I hadn’t really found ‘the one’ yet. For my last try of the day, I decided to give the tight mosaic pattern from the new :YOURS Loves CND Stamping Plate a go. When the design landed dead centre, creating a sharp, smile line like point, I knew I was on to something. From there I got some Lecenté Rainbow Shimmer Foil involved, and that was it!
This design is quick and easy to reproduce, with lots of room to create alternative versions simply by changing the base Shellac colour, or choosing different nail art foils. I am especially excited to get this design on some toenails when my pre-holiday pedicure clients start arriving.
- CND™ Shellac™ Limoncello
- :YOURS Loves CND Plate ‘summer special’
- :YOURS Stamping Polish White Light
- :YOURS Halo Stamper
- Lecenté Rainbow Shimmer Foil

Step 1
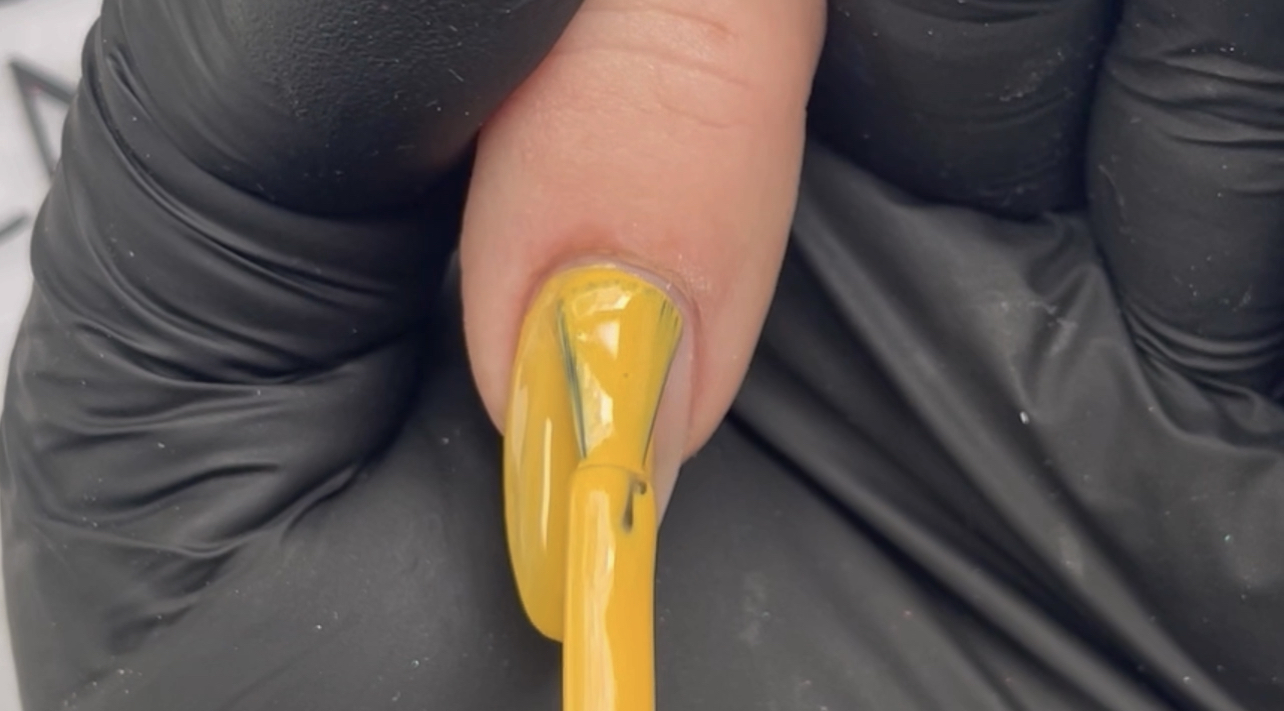
Apply and cure 2 layers of CND Shellac Limoncello. If applying to natural nails, perform CND PEP followed by Shellac Base Coat. If applying to enhancements, after file finishing simply ScrubFresh and go straight to that first layer of Shellac colour.
Step 2
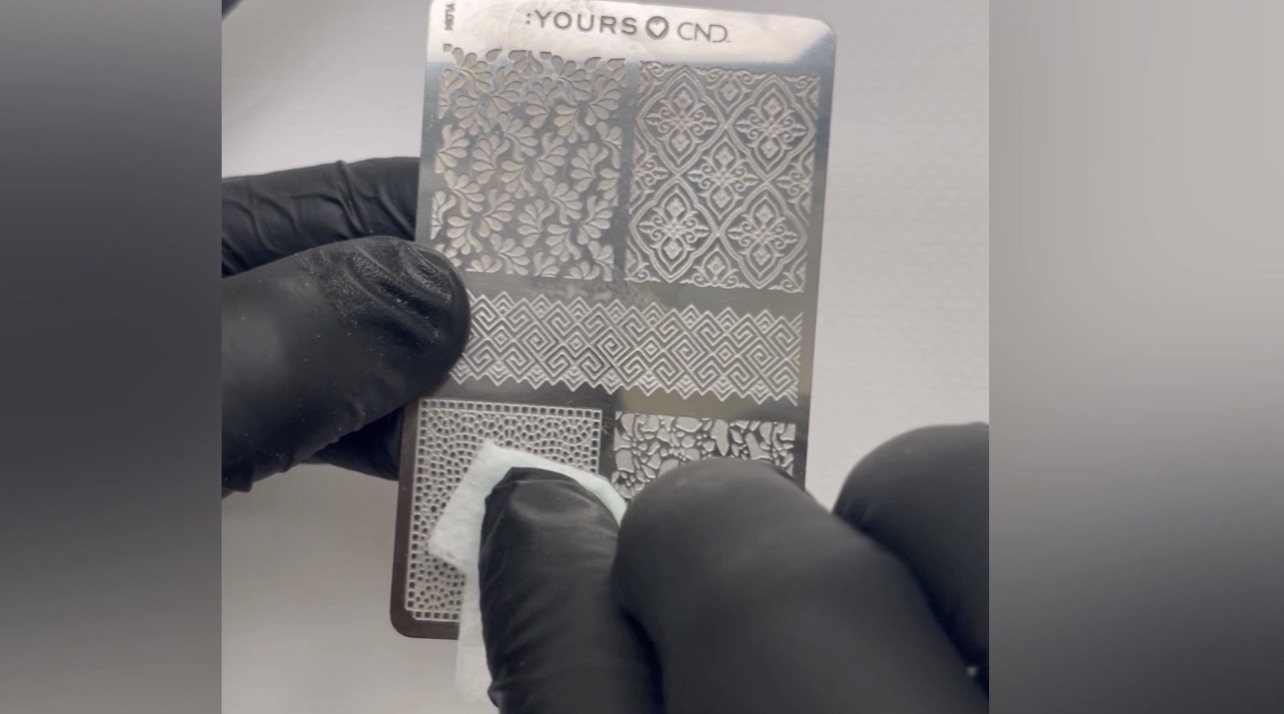
After cleaning your stamping plate with ScrubFresh and a lint free pad, shake your White Light Stamping Polish and apply to the tight mosaic pattern in the bottom left of the plate.
Scrape firmly with the scraper card and gently roll the :YOURS Halo Stamper over the plate to pick up the design. You can use a lint roller to remove anything from the stamper you don’t want to transfer to the nail.
Step 3
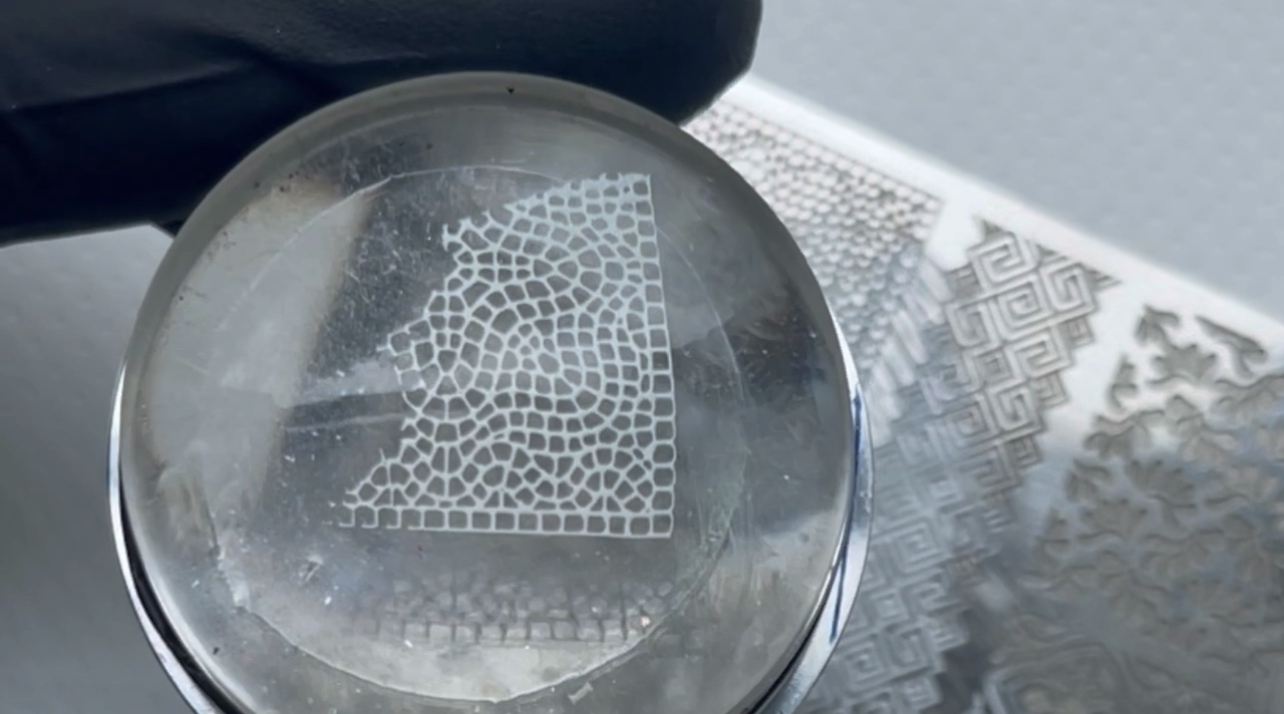
Line up your design so it lands precisely where you want it to on the nail. Press firmly onto the nail and the polish will adhere to beautifully to the top film of the cured Shellac colour layer.
Step 4
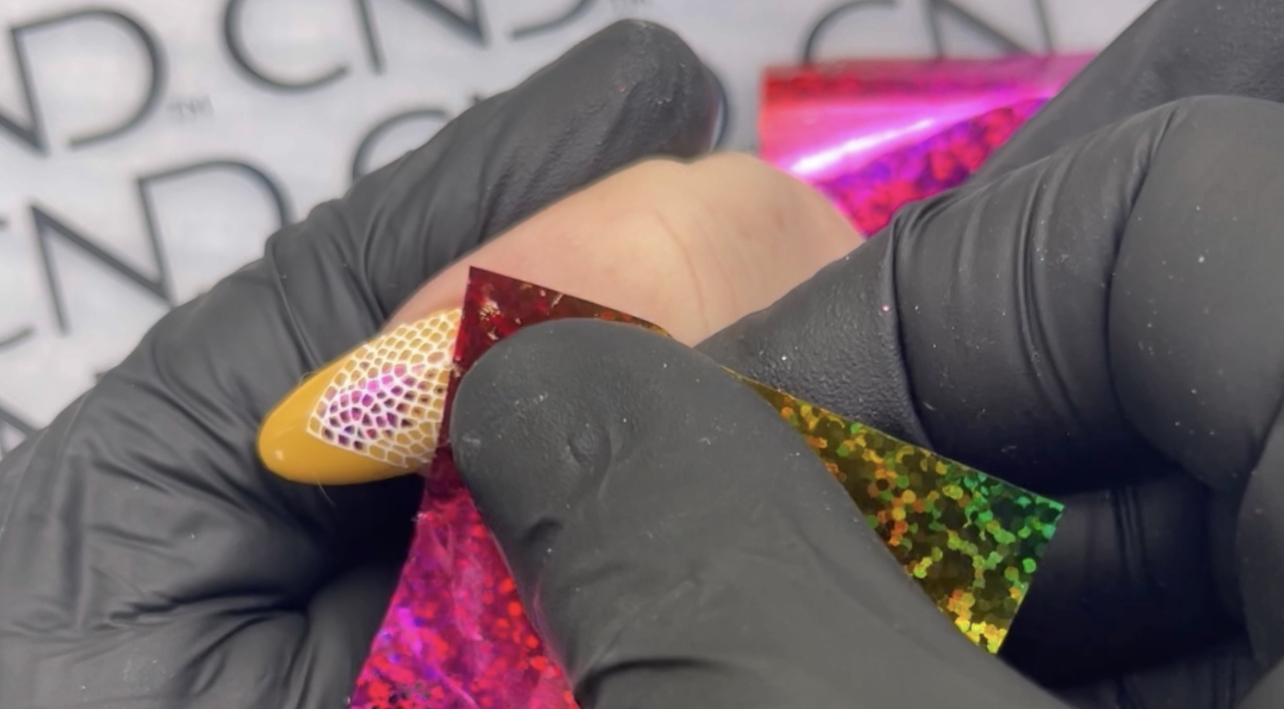
Take some Rainbow Shimmer Foil and cut yourself a few squares using scissors. The corners of the squares will be handy for placing the foil into the edge of the design. Remember, the foil will adhere to the top film of the cured Shellac in the background, and not to the dry polish you just stamped on to the nail. I recommend getting the smile line edge of the design foiled first, and then you can simply press the foil on randomly to fill in the rest of the design.
Step 5
Finish with the Shellac Top Coat best suited to the needs of your client.
Thanks for checking out the blog, if you have a go at this design I’d love to hear how it goes for you and see some of your pics! You can follow me and tag me in your photos over on Facebook and Instagram. Hope to see you there!
Facebook - https://www.facebook.com/fee.wallace
Instagram - https://www.instagram.com/fee_wallace
TikTok - https://www.tiktok.com/@fee_wallace