TRANSFORMATION TUESDAY: TRANSFORM NATURAL NAILS TO ELEGANT ENHANCEMENTS
1st Feb 2021
In this tutorial, we’re going to transform short, natural nails to elegant enhancements with some added fun and sparkle, using NEW CND™ PLEXIGEL Builder, over the NEW CND™ Future Forms.
Watch Victoria Trafford’s demonstration on how to achieve this look here.

The first thing to remember is PREP is key with any enhancement system. It doesn’t matter how beautifully we decorated a nail, if the canvas we are working on is not thoroughly prepared, we will end up with lifting and service breakdown down the line, resulting in an unhappy client.
Read our blog on how to perform the perfect PREP here.
Once prep has been completed, it’s time to make some magic!
- Apply a layer of CND™ PLEXIGEL Bonder to the natural nail and Cure on Button 1 for 10 seconds.
- Apply your form and float over a thin layer of CND™ PLEXIGEL Builder to the natural nail and create a thin extension edge on your form. Be mindful that this coating is thick enough to remove the form, but not too thick that it effects your encapsulated design. Flash cure on button 1 for 2-3 pulses of light using the CND™ custom cure technique, followed by a full cure on button 2B.
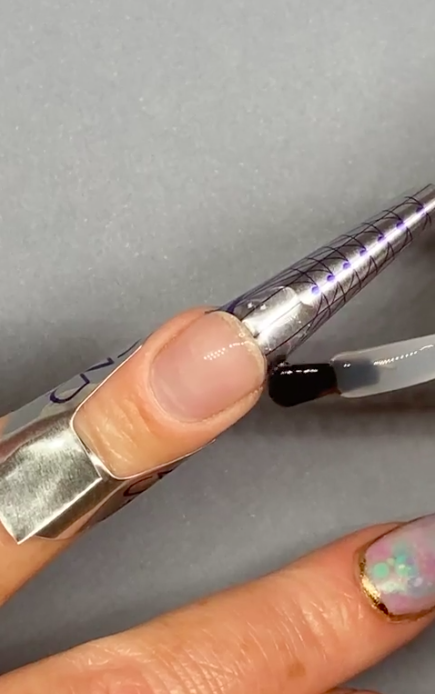
- Remove the form, cleanse with D.Sperse and very gently shape the extension edge and remove shine from the surface.
- On a palette, mix 3 parts CND™ PLEXIGEL Builder with 1 part of your favourite Lecenté glitter, using a Brisa Gel brush. Be careful not to incorporate air bubbles into the mixture.
- Scoop the mixture and tease into place at the base of your enhancement. Concentrate on placement and coverage, rather than structure at this point. Your structure will be added after. Try to keep this layer a thin veil, to reduce the risk of filing through your glitter when it comes to refining.
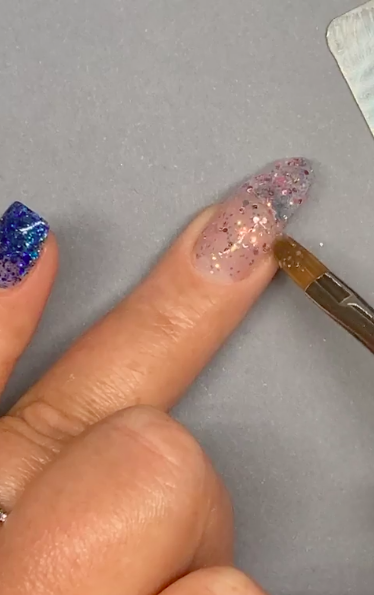
- Cure on button 2B for 1 minute, utilising the CND™ Custom Cure technique if required.
- Once the glitter layer is in place, we can then add structure. The foundation of any enhancement.
- Float on a final layer of CND™ PLEXIGEL Builder, concentrating on covering all of the glitter layer and creating an apex.
- Cure on button 2B for 1 minute, utilising the CND™ Custom Cure technique if required.
- Refine the enhancement using a 180 grit file. If you have applied your base layer and glitter layer thin enough, as you refine, you will only work within your very last layer of builder, leaving your encapsulated design untouched.
- Dust off excess or wipe with D.Sperse.
- If you want to leave your design at that, you can seal everything in with a final layer of your choice of CND™ PLEXIGEL Protector Top Coat or CND™ Shellac Top Coat.
- CND™ Shellac can be mixed with CND™ PLEXIGEL to offer a veil of colour. For this to work, without affecting the products structure, we must follow the correct ratio. 5-10% Shellac may be added to CND™ PLEXIGEL Shaper or Builder to create a custom tint of colour to the CND™ PLEXIGEL. It is very important that we do not add anymore Shellac than recommend. Shellac can also be dropped into uncured CND™ PLEXIGEL providing it is within the same ratio of 5-10%.
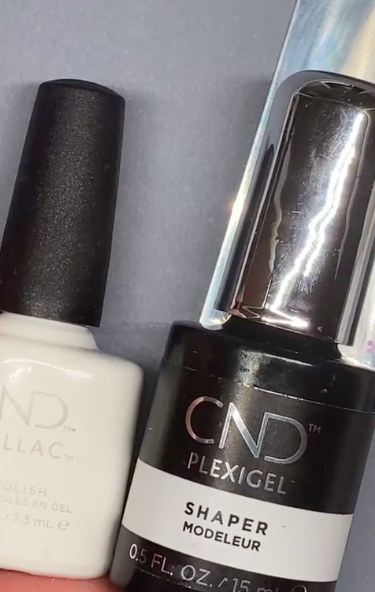

- The mix we used in the live was 5% Shellac Lady Lily mixed into CND™ PLEXIGEL Shaper. The reason for using Shaper was due to the fact that the enhancement was finished and we only required colour. This mix created a milky, white colour which acted as a veil over the glitter beneath.
- Before curing, we traced through the nail using Lady Lily neat with a Lecenté S1 Brush. Again, this stayed within the maximum ratio of 5%-10%. The reason for it being applied into the uncured product was to allow for a marble style dispersion of product. We cured on 2B and finished with CND™ PLEXIGEL Protector Top Coat.
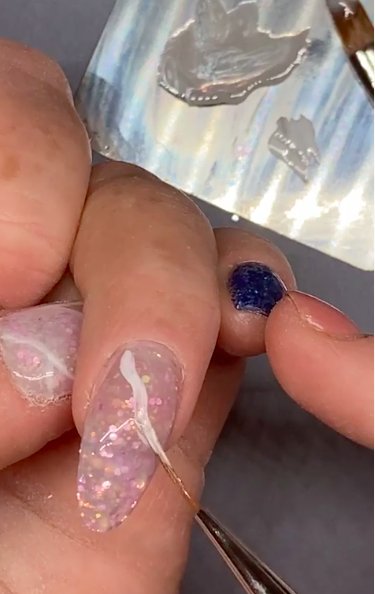
Colours used:
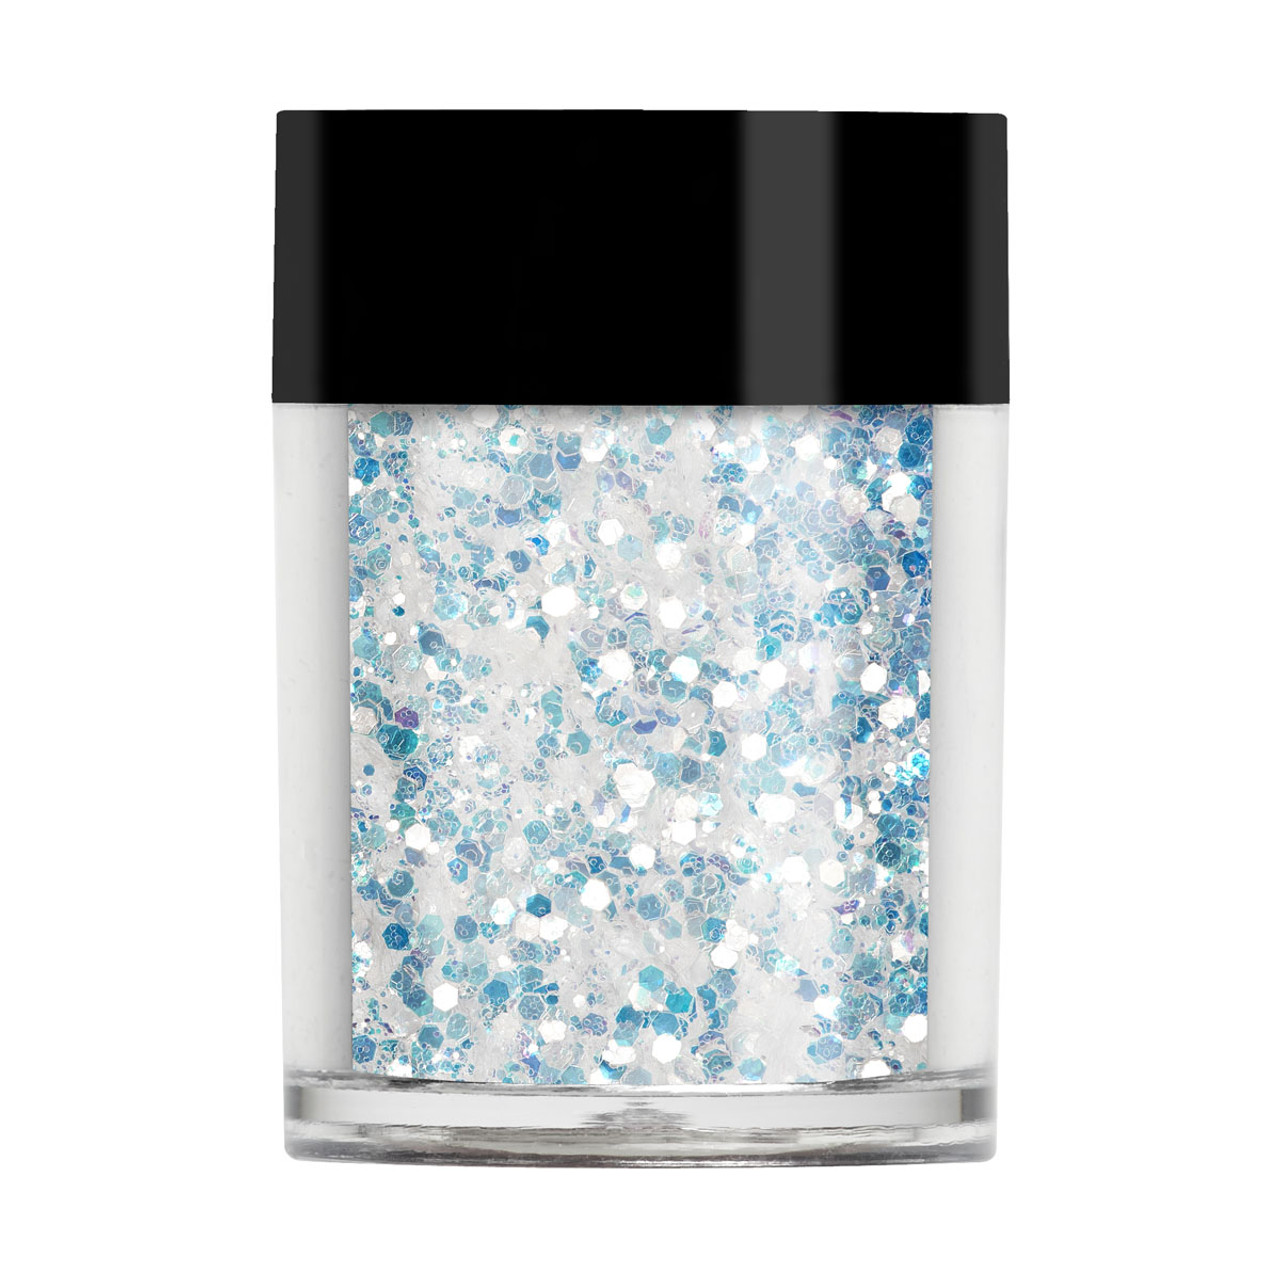
Lecenté Golden White Multi-Glitz Glitter, Lecenté Darling Multi-Glitz Glitter and CND™ Shellac Lady Lily.
