What Happens on Your First Nail Course? (Step-by-Step)
Posted by Erin Finister on 5th May 2026
Starting your first nail course can feel like a lot, it’s a new environment, new people, and a whole new skill set. But the reality? It’s way more structured (and way less intimidating) than you’re probably imagining.
If you’re thinking about booking your first course here at Sweet Squared, here’s exactly what happens.
Step 1: Arrival + Getting Settled
First things first, you’ll arrive at the academy
You’ll usually:
- Meet your educator
- Meet other students (most are beginners too, so don’t stress)
This part is very relaxed. No one expects you to walk in knowing anything.
Step 2: Course Overview
Before you touch any products, your educator will walk you through the plan for the day.
This includes:
- What you’ll be learning
- The structure of the training
- Health, safety, and hygiene basics
This is important because nail training isn’t just about painting, it’s about working safely and professionally from day one.
Step 3: Product + Theory Breakdown
Next, you’ll get familiar with the products and tools.
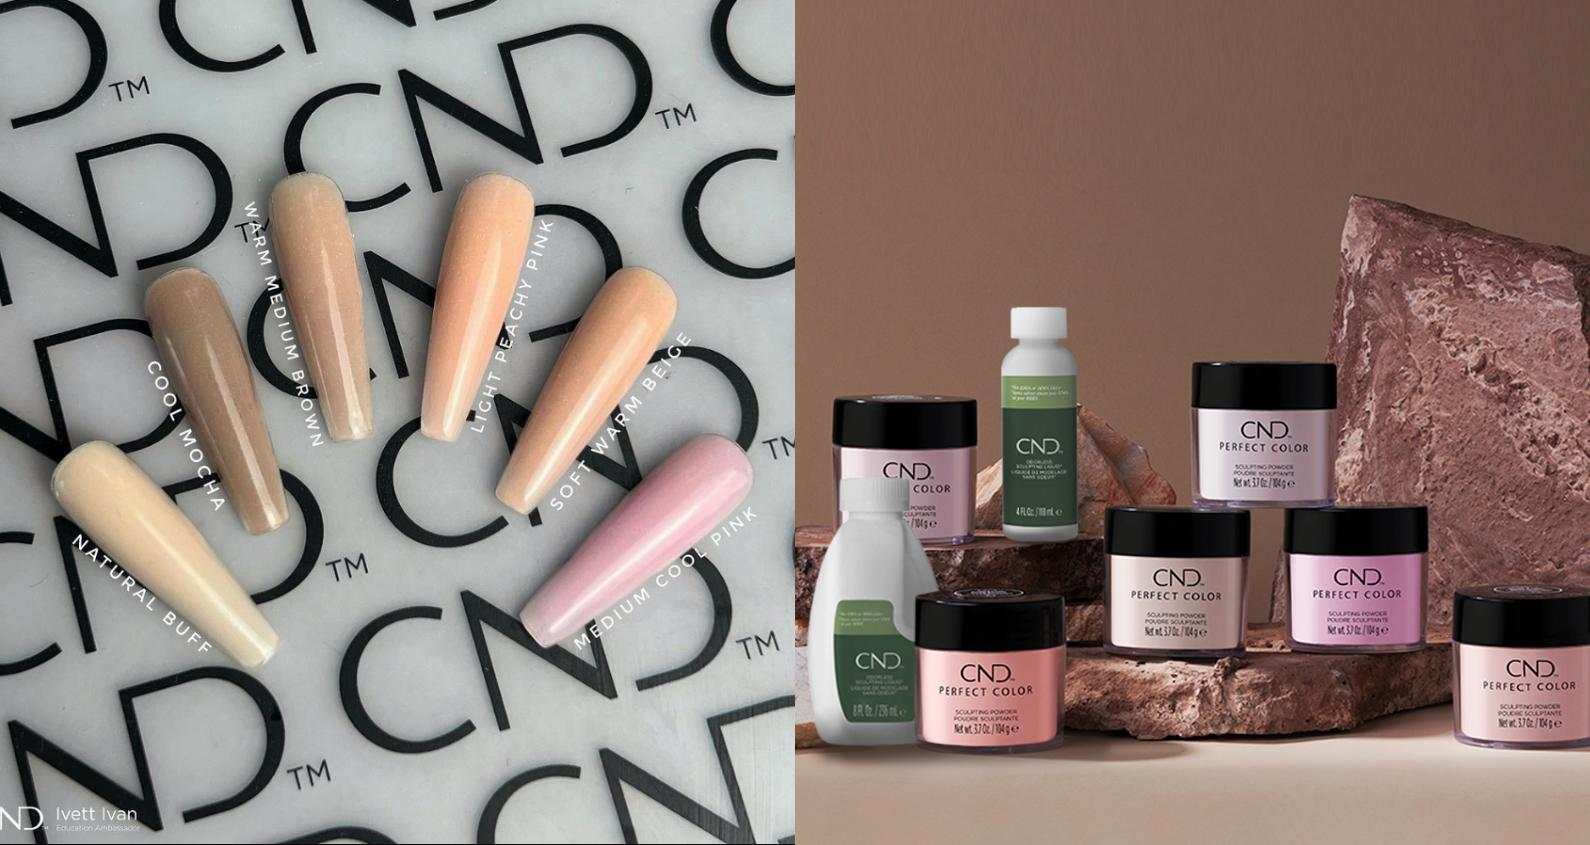
Depending on your course (like beginner systems such as CND™ SHELLAC™ or L&P), you’ll learn:
- What each product does
- How to use it correctly
- When to use it (and when not to)
This isn’t heavy textbook theory; it’s practical knowledge that makes your work better and longer lasting.
Step 4: Demonstration from Your Educator
Before you try anything yourself, your educator will show you exactly how it’s done.
You’ll watch:
- Full nail prep
- Application techniques
- Structure and finish
- Safe removal
This step is key; it gives you a clear visual of what “good” looks like before you attempt it yourself.
Step 5: Hands-On Practice
This is where you get stuck in.
You’ll start practising:
- On yourself
- On a model
Don’t expect perfection straight away. Everyone’s first set is a learning curve.
Educators will:
- Correct your technique
- Give real-time feedback
- Help you improve as you go
This hands-on focus is what builds real confidence, not just watching, but doing.
Step 6: Ongoing Support + Feedback
Throughout the day, you’re not left to figure things out alone.
You’ll get:
- One-to-one guidance
- Tips to improve your application
- Help troubleshooting common mistakes
Most beginners worry about “getting it wrong” — but that’s literally the point of training. You make mistakes, learn from them and improve.
Step 7: Assessment (If required)
Some courses include a practical assessment.
This might involve:
- Completing a full set of nails
- Demonstrating correct prep and application
- Following hygiene standards
It’s not there to catch you out, it’s there to make sure you’re ready to work safely and confidently.
Step 8: Certification
Once you complete your course, you’ll receive a certificate.
This is important because:
- It allows you to get insured
- It shows clients and employers you’re trained
- It builds credibility as a professional
Step 9: What Happens After?

Your first course is just the start.
From here, you can:
- Practise and build confidence
- Take conversion or advanced courses
- Learn new systems or nail art
Most nail techs don’t stop at one course; they build skills over time.
What You Don’t Need to Worry About
You do not need:
- Experience
- A client base
- Perfect skills
Beginner courses are designed to take you from zero.
The Reality: It’s Less Scary Than You Think
The biggest thing people realise after their first nail course?
It’s doable.
You’re guided the whole way, you’re learning with people at the same level, and you leave with real, practical skills — not just theory.
And most importantly, you leave knowing where to go next.
Ready to Start?
If you’ve been waiting until you feel “ready”, this is it.
Training is where you become ready, not something you do after.
Unsure which course to start on? Speak to a member of our CX team: 0333 000 7000